Outfit · Sewing

Papercut Ashling Dress

Hello! It’s been a while, hasn’t it? I feel like that’s how my last few posts have gone. I’ve been terrible about posting these past few years but I’m hoping to be better about it! Anyway, here’s one of my most recent makes- a Papercut Ashling dress. I loved this pattern as soon as I saw it.

It’s no secret that I love ruffles and this one has the option for three! Waist, collar and sleeve cuffs. I ended up just doing to the waist although I had planned on the sleeve cuffs. I ran out of fabric. 

I was between sizes and should have sized down. When I first tried it on, I was disappointed. I took the shoulders in a little and that helped. I wish I had shortened the bodice an inch or two but it would have been too much of a headache to unpick once I realized. I am happy with how it turned out, though. It’ll be an easy dress to just throw on with some flats and feel put together. 

This lovely rayon is from Art Gallery. It’s called Intrinsic Deep. I love all the colors in the design. I had a hard time deciding what color buttons I wanted to use but I ended up on these pink vintage buttons I had in my stash.

I hope to make another in a cotton one day. The tan gingham one on the Papercut site is so perfect! There’s also an option to just make a top which would also be nice. My spring/ summer sewing plans are out of control. I want to make all the things! I just finished a Friday Pattern Co Davenport dress so I’ll be back to share that soon and maybe some of my future sewing plans.

Thanks for reading!

rtw · Sewing

RTW Inspiration

Hello! I got my second dose of the Co-vid vaccine earlier this week. I’m feeling hopeful and excited (and still a little under the weather.) I’m wearing one of my favorite RTW dresses in these photos. I found it shopping in New York a few years ago. I had planned to make something similar but decided just to purchase this instead. I get a lot of inspiration from RTW garments so I thought it would be fun to start a new series on the blog where I share patterns and fabric on how to recreate them!

Patterns:

These all have similar design features to my dress and could easily be hacked to add tie straps or gathered tiers.

McCalls M8108 / McCalls M8087 / Simplicity S9141 / Seamwork Amber

Fabric:

I think these pastel striped seersucker fabrics would be perfect!

Khaki / Palm / Yellow / Blue / Pink

Do you get inspired by RTW garments when you are sewing?

Sewing

Tulips

Hi again! I have not been great about blogging this past year, have I? I’m here to share my visit to the tulip fields. I wore 3 new me made items on this day! I wore a Seamwork Audrey denim jacket in Cone Mills stretch denim from Melanated fabrics. I also wore a Nina Lee Kew dress in Rifle Paper Co Strawberry Fields rayon and a new headband style that I have listed in my Etsy shop.

I have made a Seamwork Audrey jacket once before. It was made with gold Cone Mills denim and you can read about it here. This jacket was giving me all sorts of problems this time around from accidentally sewing the welt pocket lining on upside down and spilling fray check on it. But- it’s done! And I’m very happy with it. This time I shortened the length of the body and the arms by one inch. I’ve needed a blue denim jacket in my wardrobe again. This is going to get worn a lot.

The Nina Lee Kew dress is a pattern I’ve had for a while now but never got around to making. I was wondering what I should wear to the tulip fields and kept thinking about this rayon I had in my stash. This was a spontaneous make. I didn’t have enough fabric for the facings so I picked up some white rayon from work and lined the bodice with it. I also used some vintage buttons I had on hand. I’m so pleased with how it turned out. The only fit adjustment I made was lowering the bust darts a bit. I started to make a wearable muslin out of some vintage floral poly. I love this dress so much, I’ll have to get around to finishing that one. I also would love to make the skirt version. I have some linen in my stash I think would be perfect.

I visited these tulip fields two years ago. It was such a nice experience. I was so disappointed when they were not able to open last year due to Co-vid restrictions. It was much busier this year (at opening!) and was not a fan of the large crowds. We quickly snapped some pics, picked a few tulips and left. Next year I will plan to visit on a weekday so I can hopefully enjoy it more.

Sewing

Nina Lee Bakerloo Blouse

4D20C662-A943-4892-B47B-6803F9FE5369

Hello! I didn’t mean to go so long without posting again! I haven’t been doing too much sewing for myself these days but I’m hoping to change that soon. Whenever I had some time to sew, I felt so indecisive about my choices and would end up not making anything. Last week, I saw a Nina Lee Bakerloo blouse (I_seam_sew_happy_xx leopard one to be exact!) and I felt so inspired. Before I knew it I was taping together a Pdf pattern and digging through my fabric stash. I haven’t been so excited about a make probably since my last post in August.

The Bakerloo blouse has an amazing large collar with ruffle trim. I made the long sleeve blouse but there’s also a short sleeve and a dress version. It’s no secret that I love collars and ruffles!

For fabric, I used a Rifle Paper Co rayon from the new Strawberry Fields collection. It’s absolutely beautiful. I loved it so much, I also purchased it in the white color way. It also comes with a blush background. I thought I was going to make a simple dress with it but I find myself wearing jeans more and more lately so a blouse will get plenty of wear.

Unfortunately, I didn’t have enough fabric. I always forget how narrow the Rifle Paper Co rayons are (44”) and I should always order more than I think I’ll need. The pattern piece for the sleeves is quite big and I definitely wanted long sleeves. I had to shorten the pattern in length and width to make it fit on my fabric. I think it worked fine, although I do wish they were an inch longer. I also omitted the sleeve facing which would have helped. My collar ruffle was also a little short so it’s not as ruffled as it should be.

Despite these things, I absolutely love this blouse. I love it in rayon. I like how it softens the look of the large collar. I’d like to make another one day in a solid white. It was so nice to feel inspired again! Hopefully I am back soon with another make.

Sewing

Victory Patterns Sophia

D20C9262-C3D6-4A4C-93D1-C76FCA8DEC04

Oops! I accidentally went two months without a blog post. Life has been busy and full of changes which has left little time for sewing. I squeezed in some time last week to make this dress!

4E158211-1AFB-4B9C-A9C7-1B0CD4999065

I’ve been wanting a dress like this for a while. I have seen a lot of tutorials to make something similar. I’d rather just have a pattern to work off of so I was excited when the Victory Patterns Sophia popped up on my Instagram feed. The Sophia dress has a shirred bodice, four different sleeve options and a long skirt that can be lined. I used a tencel cotton lawn from Sew Me Sunshine. I saw it on the website earlier this year but hesitated to buy it because I was worried I only wanted it because Valentine’s Day was coming up. Well, Valentine’s Day passed and I was still thinking about it but it sold out! When I was browsing the website in the spring I was so excited when I saw it was in stock again. This fabric is sooo soft! It is a bit sheer though so I lined the front bodice and the skirt with a white viscose. I was a little short on fabric so I had to lessen the angle of the A line on the skirt pieces so they would fit on my fabric.

FC8729AD-EB22-49F9-A1E1-57EF78E31E6B

I love how it came out. Perfect summer dress! But let’s be honest- I’m definitely throwing a cardigan and tights on with this dress at Valentine’s Day.

Sewing

Selkie Lin

FF294E39-D4EA-47CF-88A2-2276FA72AC97

I’m excited to share my Selkie Lin play suit today! I bought this pattern as soon as it came out last year. It has a square neckline, princess seamed bodice, 3 sleeve and 3 pant length options. I used a pink linen from Joanns and a coordinating Lyocell to line the bodice (and back the waist ties because I ran out of fabric. You absolutely need the fabric requirements. Oops!) This linen reminded me of one of one of the samples used on Selkies page. There’s a lot of nice details in this pattern and I thought a solid fabric would really let them show.

494021EF-E801-428B-B0DE-08691FBFEFCA4F779067-86C4-4154-AED8-3B02A14E67EB

I was a little concerned about fitting the bodice. The front has princess seams and the back has four darts. I almost made a muslin but just decided to go for it. There was enough ease in the pattern and a lot of seams if I needed to make any adjustments afterward. I made the smallest size and graded up slightly around my waist. I got very lucky because I think it’s pretty good!

410D718F-3316-46FC-AAE3-D0922A8D54D23D05E4D6-DE2D-472F-AEB0-44C511E2B80D

The sleeve cuffs have non functional buttons on them. I used some small white flower ones I had in my stash. I realized after editing these photos that I put one of the sleeve cuffs on backwards. It will be pretty simple to fix.

3330F2FC-D645-435B-8EBE-C7BA24E36B1C00C0DB6D-1AAA-4EA2-B01D-B8CB52DF8863

I wore this all day on Saturday and it was so comfortable in the heat. I definitely think it will get worn a lot this summer. I’d like to make a pant length version of this eventually, maybe for next spring. This was my first Selkie pattern and I am very impressed!

83AC9004-5820-4BE7-BACD-8CCA5A92DBAA

Outfit · Sewing

Forget Me Not Patterns Lola


AE22ACBF-E45D-41A0-A158-BF07F9A110D6
I am excited to share my Lola dress with you today! This pattern is by Forget me Not patterns.
Lola can be made as a top or a dress. There’s a boat neck (what I made) or a scoop neck option. The back is really pretty with a yoke and an inverted box pleat plus an optional ruffle (which I of course added)

Lola has so many size options! I was really impressed. There were small, medium and full bust options. I went with the small, size 32 and the fit is perfect.

5EA5E81F-2E07-469C-9541-E8A7FFC0C3EE

For fabric, I used a spotted rayon crepe I bought of Etsy. When it arrived it reminded me more of chiffon. It was ever so slightly sheer and wasn’t going to work for the jumpsuit I had planned it for. I’m glad though because I just love it as this dress! I can wear this dress over my slip and it’s perfect.

0B7CDB2A-13B8-45B6-9AB9-F3A7EBC80F3F

The only adjustment I made was I shortened the dress by a few inches when I was cutting it out. It ended up being a little shorter than expected but I think it’s fine.

This pattern also has an optional waist tie. I really like it styled with this belt I own but I might make it later! I can picture myself wearing this dress all year round! With tights and a chunky cardigan in the fall and like these photos in the spring/ summer. It can be made in a solid fabric as a basic or it’s a great canvas for a really fun, bold print.

9E72F342-F2B0-42DC-99D4-5BB8E00A51FC

9DD6883C-FA3D-4CA9-971A-A461B211B4F2

Because this fabric frays (and I also didn’t feel like rethreading my serger) I used French seams for the whole dress. It has such a nice clean finish. I tried to use my narrow hem foot for all the hems but I’m still getting the hang of it. I ended up just folding the hem as I went along on my machine and it turned out fine. The final touch? A Crafty Pinup label at the neck. I really like adding labels to my me mades now. 

FD27C20A-2062-4154-9D9C-9F3969A90F31

I hope everyone is doing okay and staying safe ❤️

(Pattern was gifted)

Sewing

Ruffled Collar Hack/ MN Sudley

F16C51B4-7D6A-4671-8EC6-B6164C2747CA

I saw several RTW blouses recently that had a ruffled collar. I loved the style of them but to my surprise I could not find any sewing patterns with this detail! It seemed easy enough to hack so I searched through my patterns for a simple blouse to start. Megan Nielsen’s Sudley was perfect. This pattern is reversible so you can wear the keyhole or the rounded neckline forward. I love how you get two different looks out of one garment. I also knew I wanted a long sleeve with an elastic cuff so I made view D. I happened to come across a vintage pattern close to what I was looking for so I used that as a starting point for my collar.

I cut three rectangles- one for the rounded side and two for the key hole side. My shorter rectangles measured about 4″ x 10. 5″  and my longer rectangle measured about 4″ x 22″. You can adjust the height for a narrower or wider ruffle, and also the length for more gathers or less. As different sizes have different neckline widths, you may need to adjust. I french seamed the short ends together. (One short, long, and then the other short) to create one long rectangle. I then narrow hemmed the two short ends and one long end. After that, I sewed one line of a gathering stitch (machine stitch length set to 4 or 5) 1/4 inch from the non hemmed edge.
DF1DA3F0-5CEC-4070-93AC-4DB17816E606
I then pinned the collar onto the blouse , matching the ends to the keyhole opening and the collar seams to my shoulder seams. I gently pulled the gathering stitch until my collar fit on my neckline. Once it was pinned in place, I stitched it with a 1/4” seam allowance. I then followed the rest of the instructions and bias faced the neckline.
I love how it turned out. I planned to wear the plain side forward but I love the keyhole side more! It’s good to know I have options though. This was my first time using the Sudley pattern. I will definitely be making the dress with a pater pan collar. I already have my fabrics picked out!
48F03E64-AFD9-4885-B6C3-710E1DE07380
Sewing

Persephone Pants

I hope everyone is doing okay with everything that is going on in the world. I had planned to share my Persephone pants last week but didn’t feel up for writing a blog post. I’m trying to take things day by day and find some new sense of normal for the time being. The only perk of this situation is because I can’t work from home, I pretty much have unlimited time for sewing at the moment. I’m crossing lots of projects off my to-do list and ordered supplies to fill up my Etsy shop.

DSC_0166

I bought the Persephone Pants pattern by Anna Allen when I realized it was very similar to 2 pairs of (my favorite!) Free People pants I own. The Persephone pant pattern is high waisted and does not have side seams. There’s waist inseam pockets, belt loops and a button fly. After making them, I realized the only differences were the button fly and that the Persephone pants has single darts in the back and my Free People pants have double darts. I bought this Robert Kaufman Ventana Twill from Stone Mountain Fabrics late last summer. I knew the forest green would be a good addition to my wardrobe. I used scraps of Rifle Paper Co cotton for the pockets.

DSC_0205

After making jeans, these weren’t difficult to make. I did make a mistake, though! My button fly was not laying completely flat so I decided to redo it. Big mistake. I had already snipped into the fabric and this fabric unravels so I created a big mess after unpicking. I almost threw them in the trash. I managed to save them and added extra reinforcement (bar tacks) in that area.

DSC_0171

The fit is okay. I graded the waistband out a size according to the measurements but on my next pair, I will just sew a straight size 0. I also hemmed a couple inches off of the length.

I’d love to make more pairs or maybe even a pair of shorts! I think an off white twill would be great for summer. I think I will use a zipper instead of a button fly next time as well. She has a zipper expansion pack with instructions on how to do this.

DSC_0162 (1)

I hope everyone is staying healthy and safe ❤️

Home · Sewing

My Sewing Room

53605F9B-BE3B-4566-8C7F-1076F45CC944

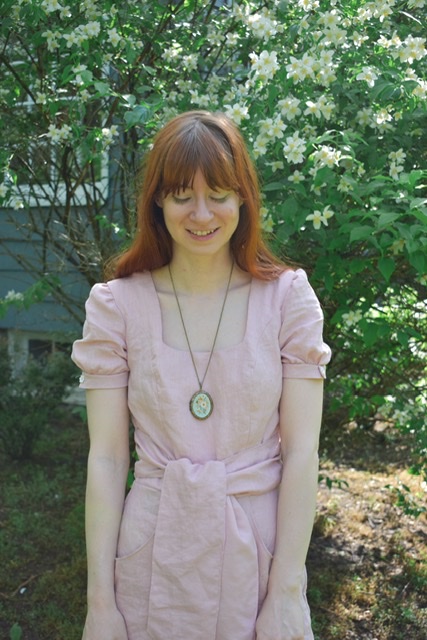
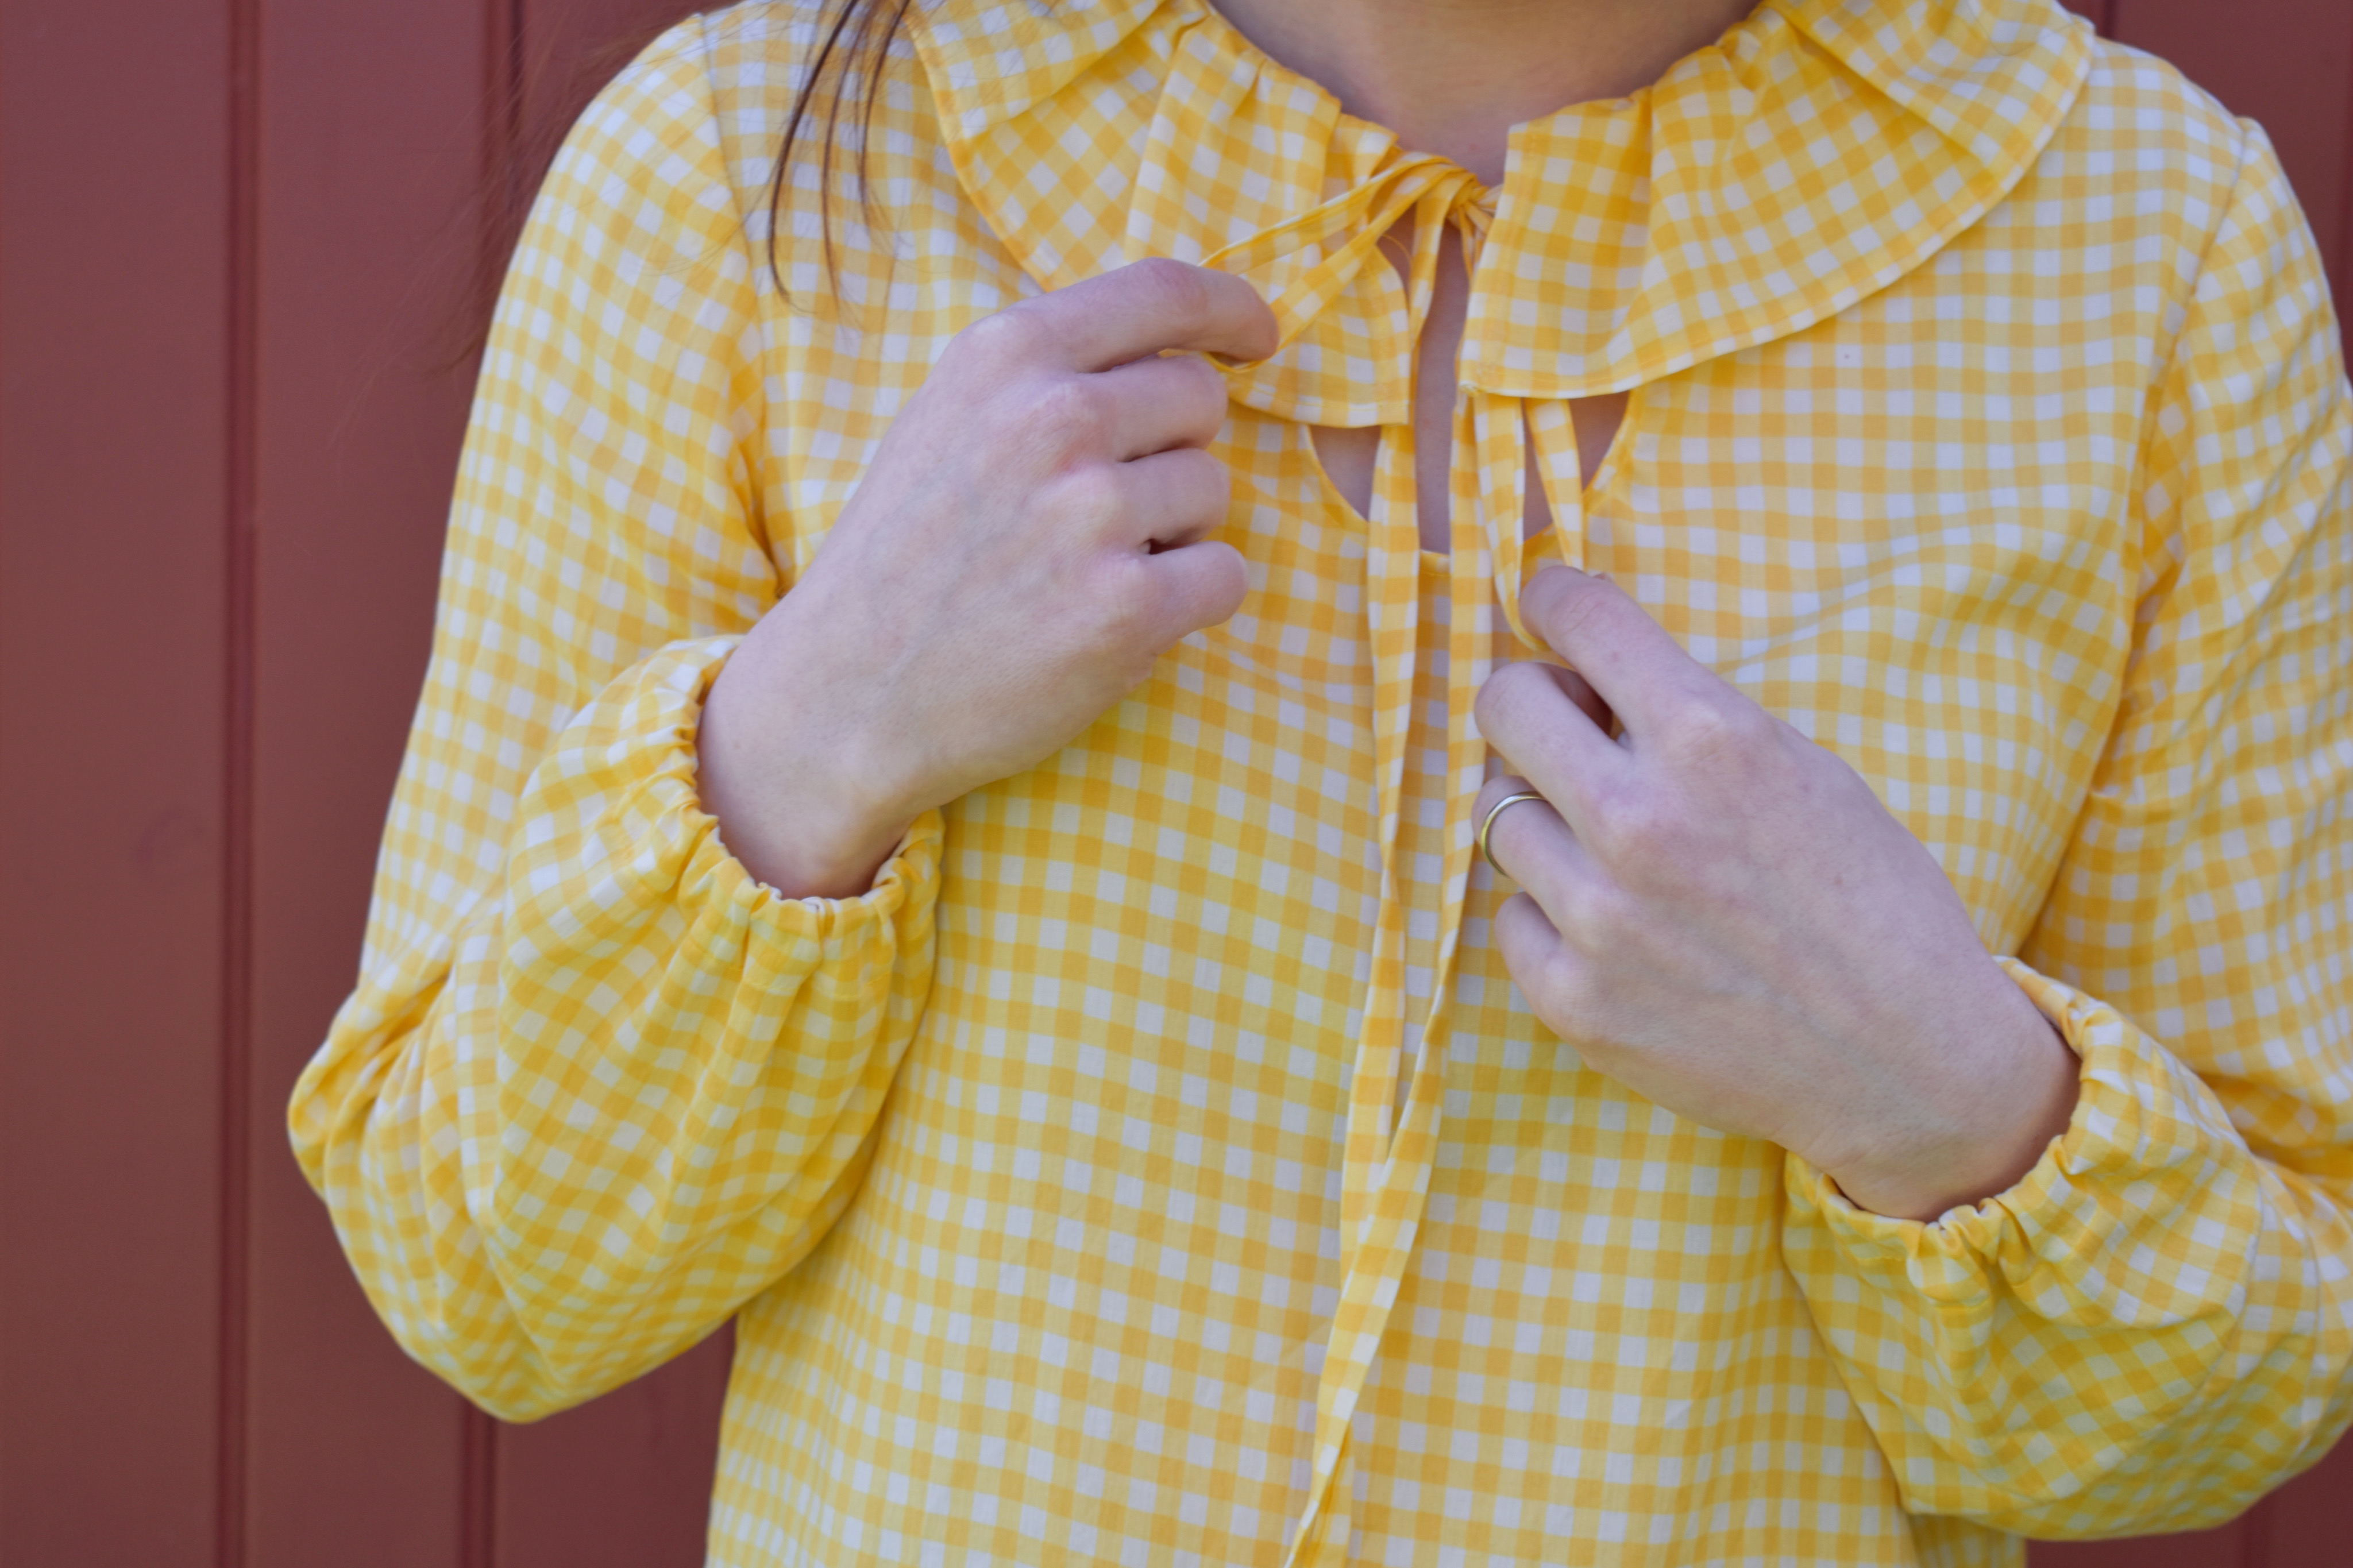
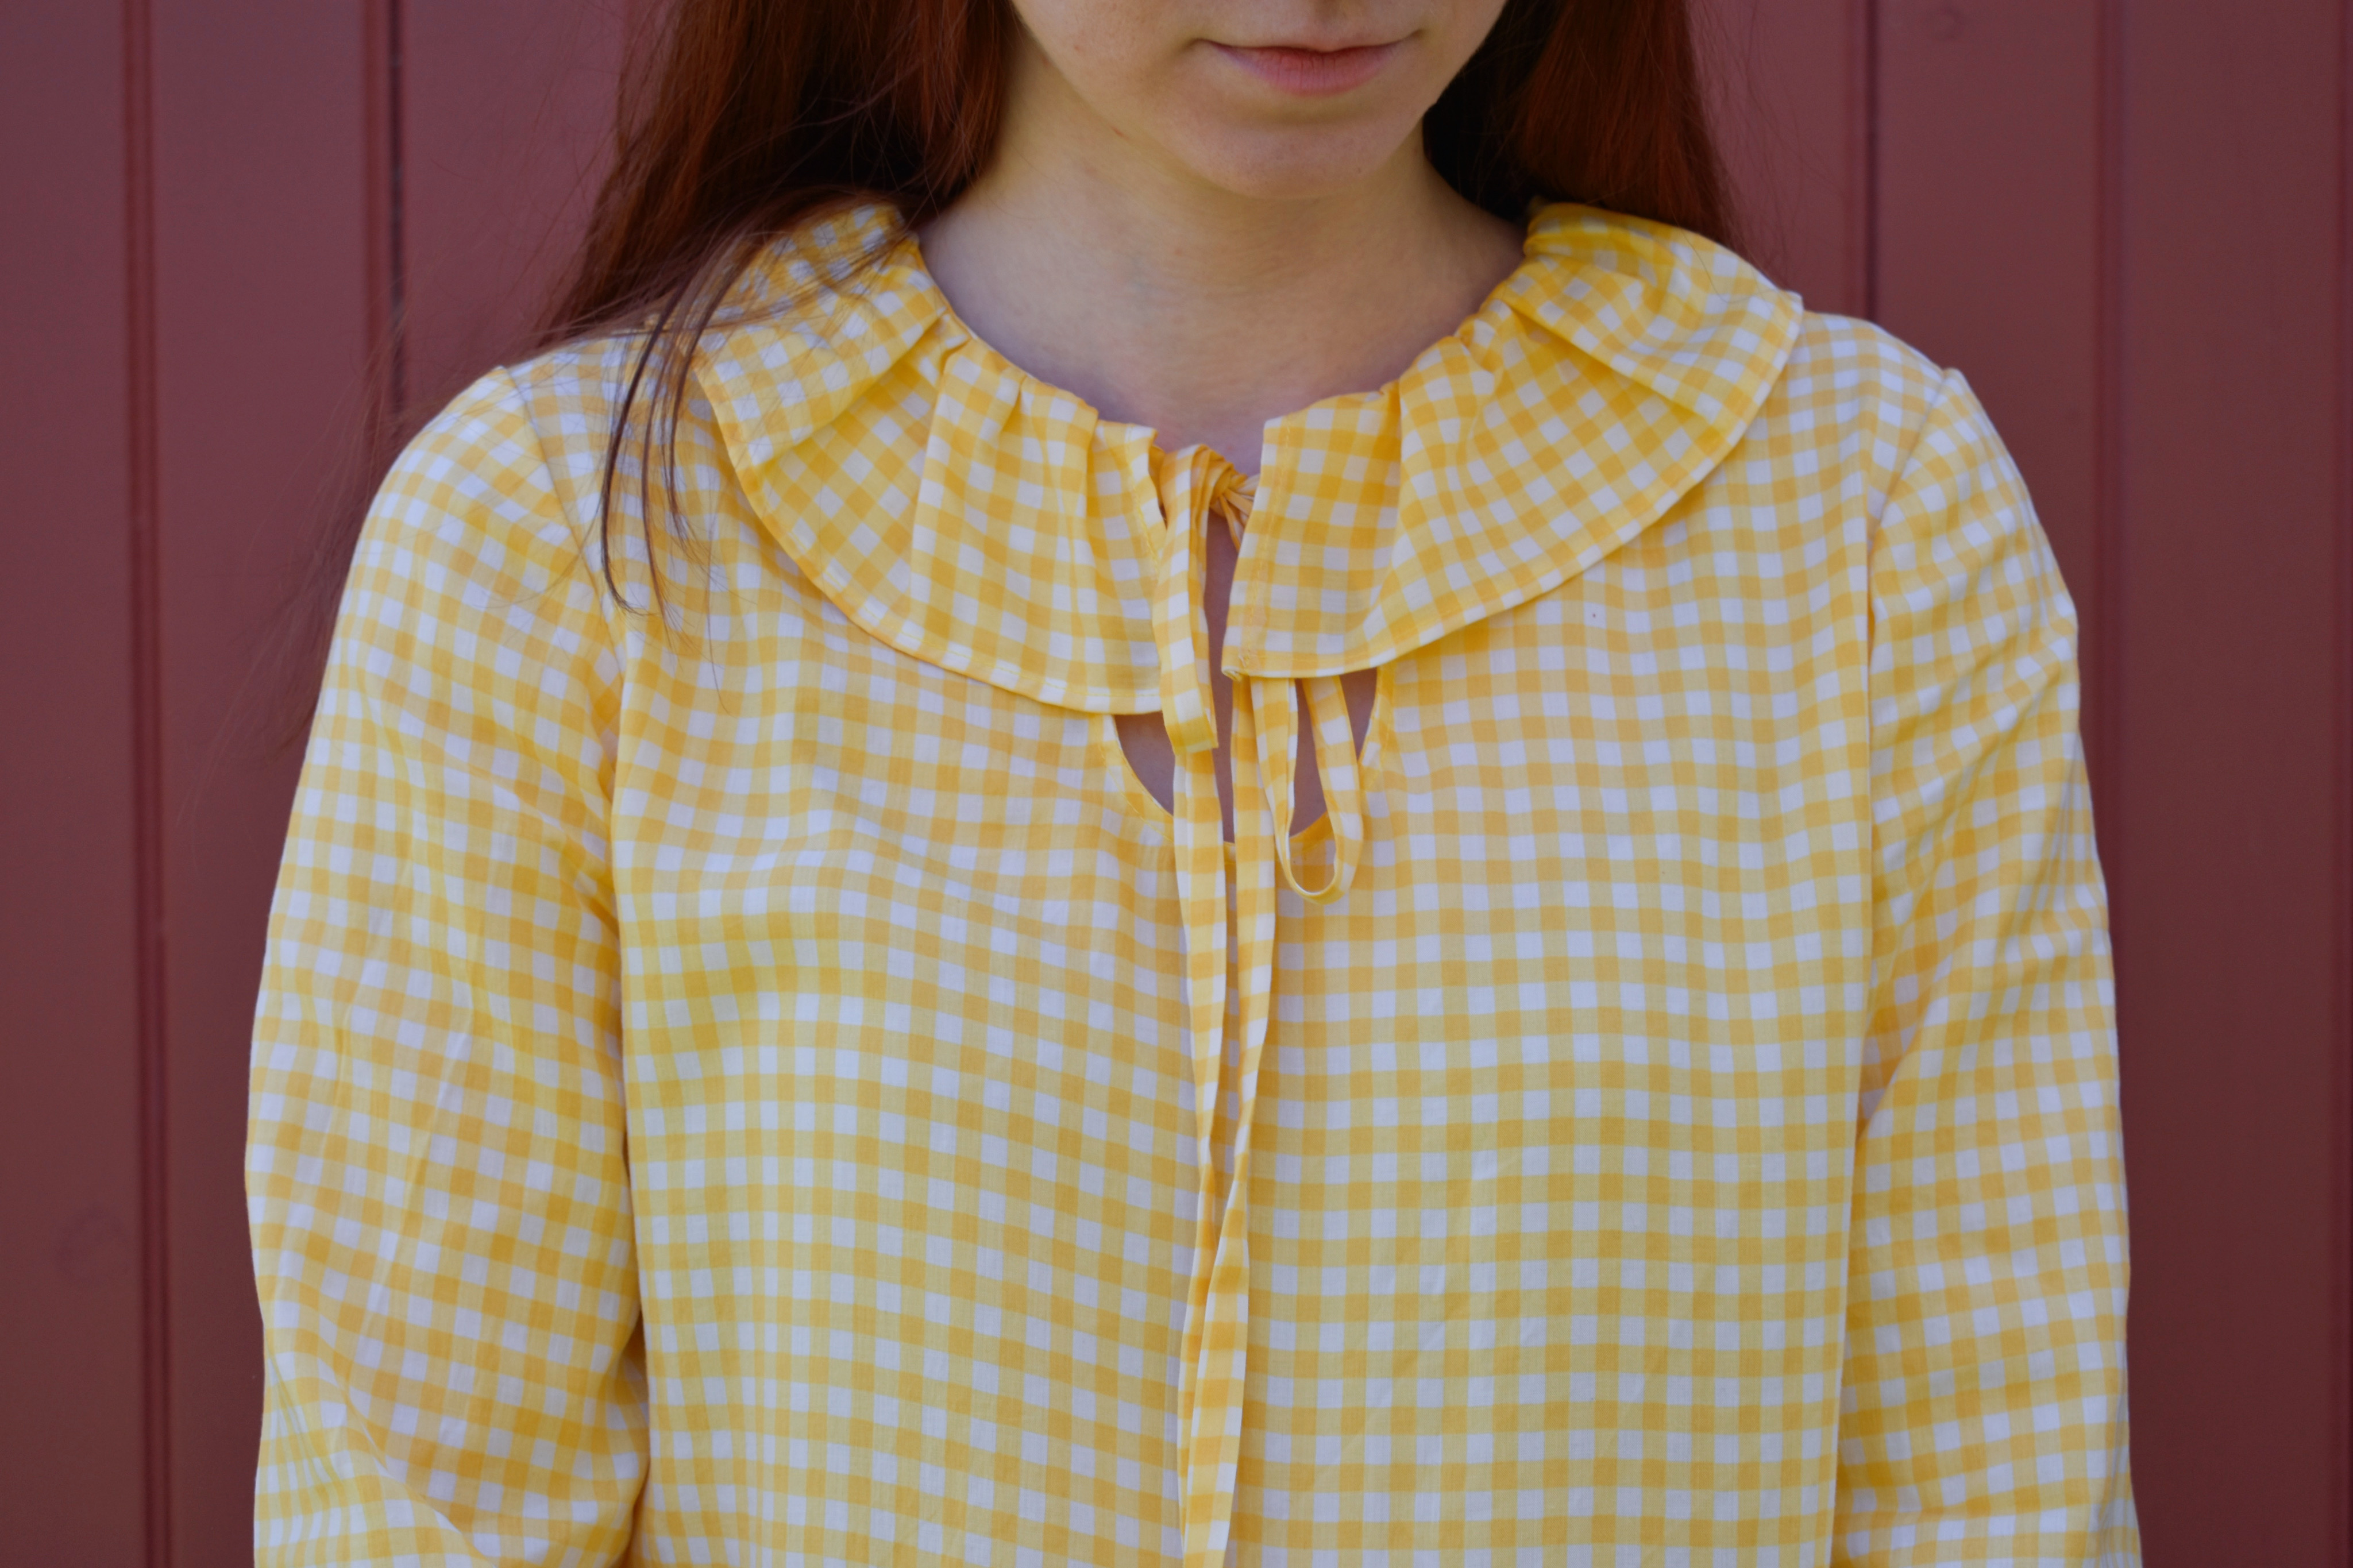
Hello! It’s been a little while. I haven’t been sewing much for myself lately but I think that’s going to change soon. I’m feeling very inspired and ready to work on spring garments. I moved a few weeks ago and am loving my new sewing room. I am so excited to share it with you today.

In our old apartment, I shared my sewing space with my “closet” (a rolling rack and a dresser). Our new place has two closets in the bedroom and a large set of built in shelves where I can store all of my clothing and accessories. I do share the space with our laundry machine and cleaning supplies now but they are tucked away behind closet doors so I don’t mind. The room is a little smaller than my old one but since I am not sharing it with that extra furniture, it feels less cluttered.

D43F2136-B852-4790-B842-8B4A67C4608D

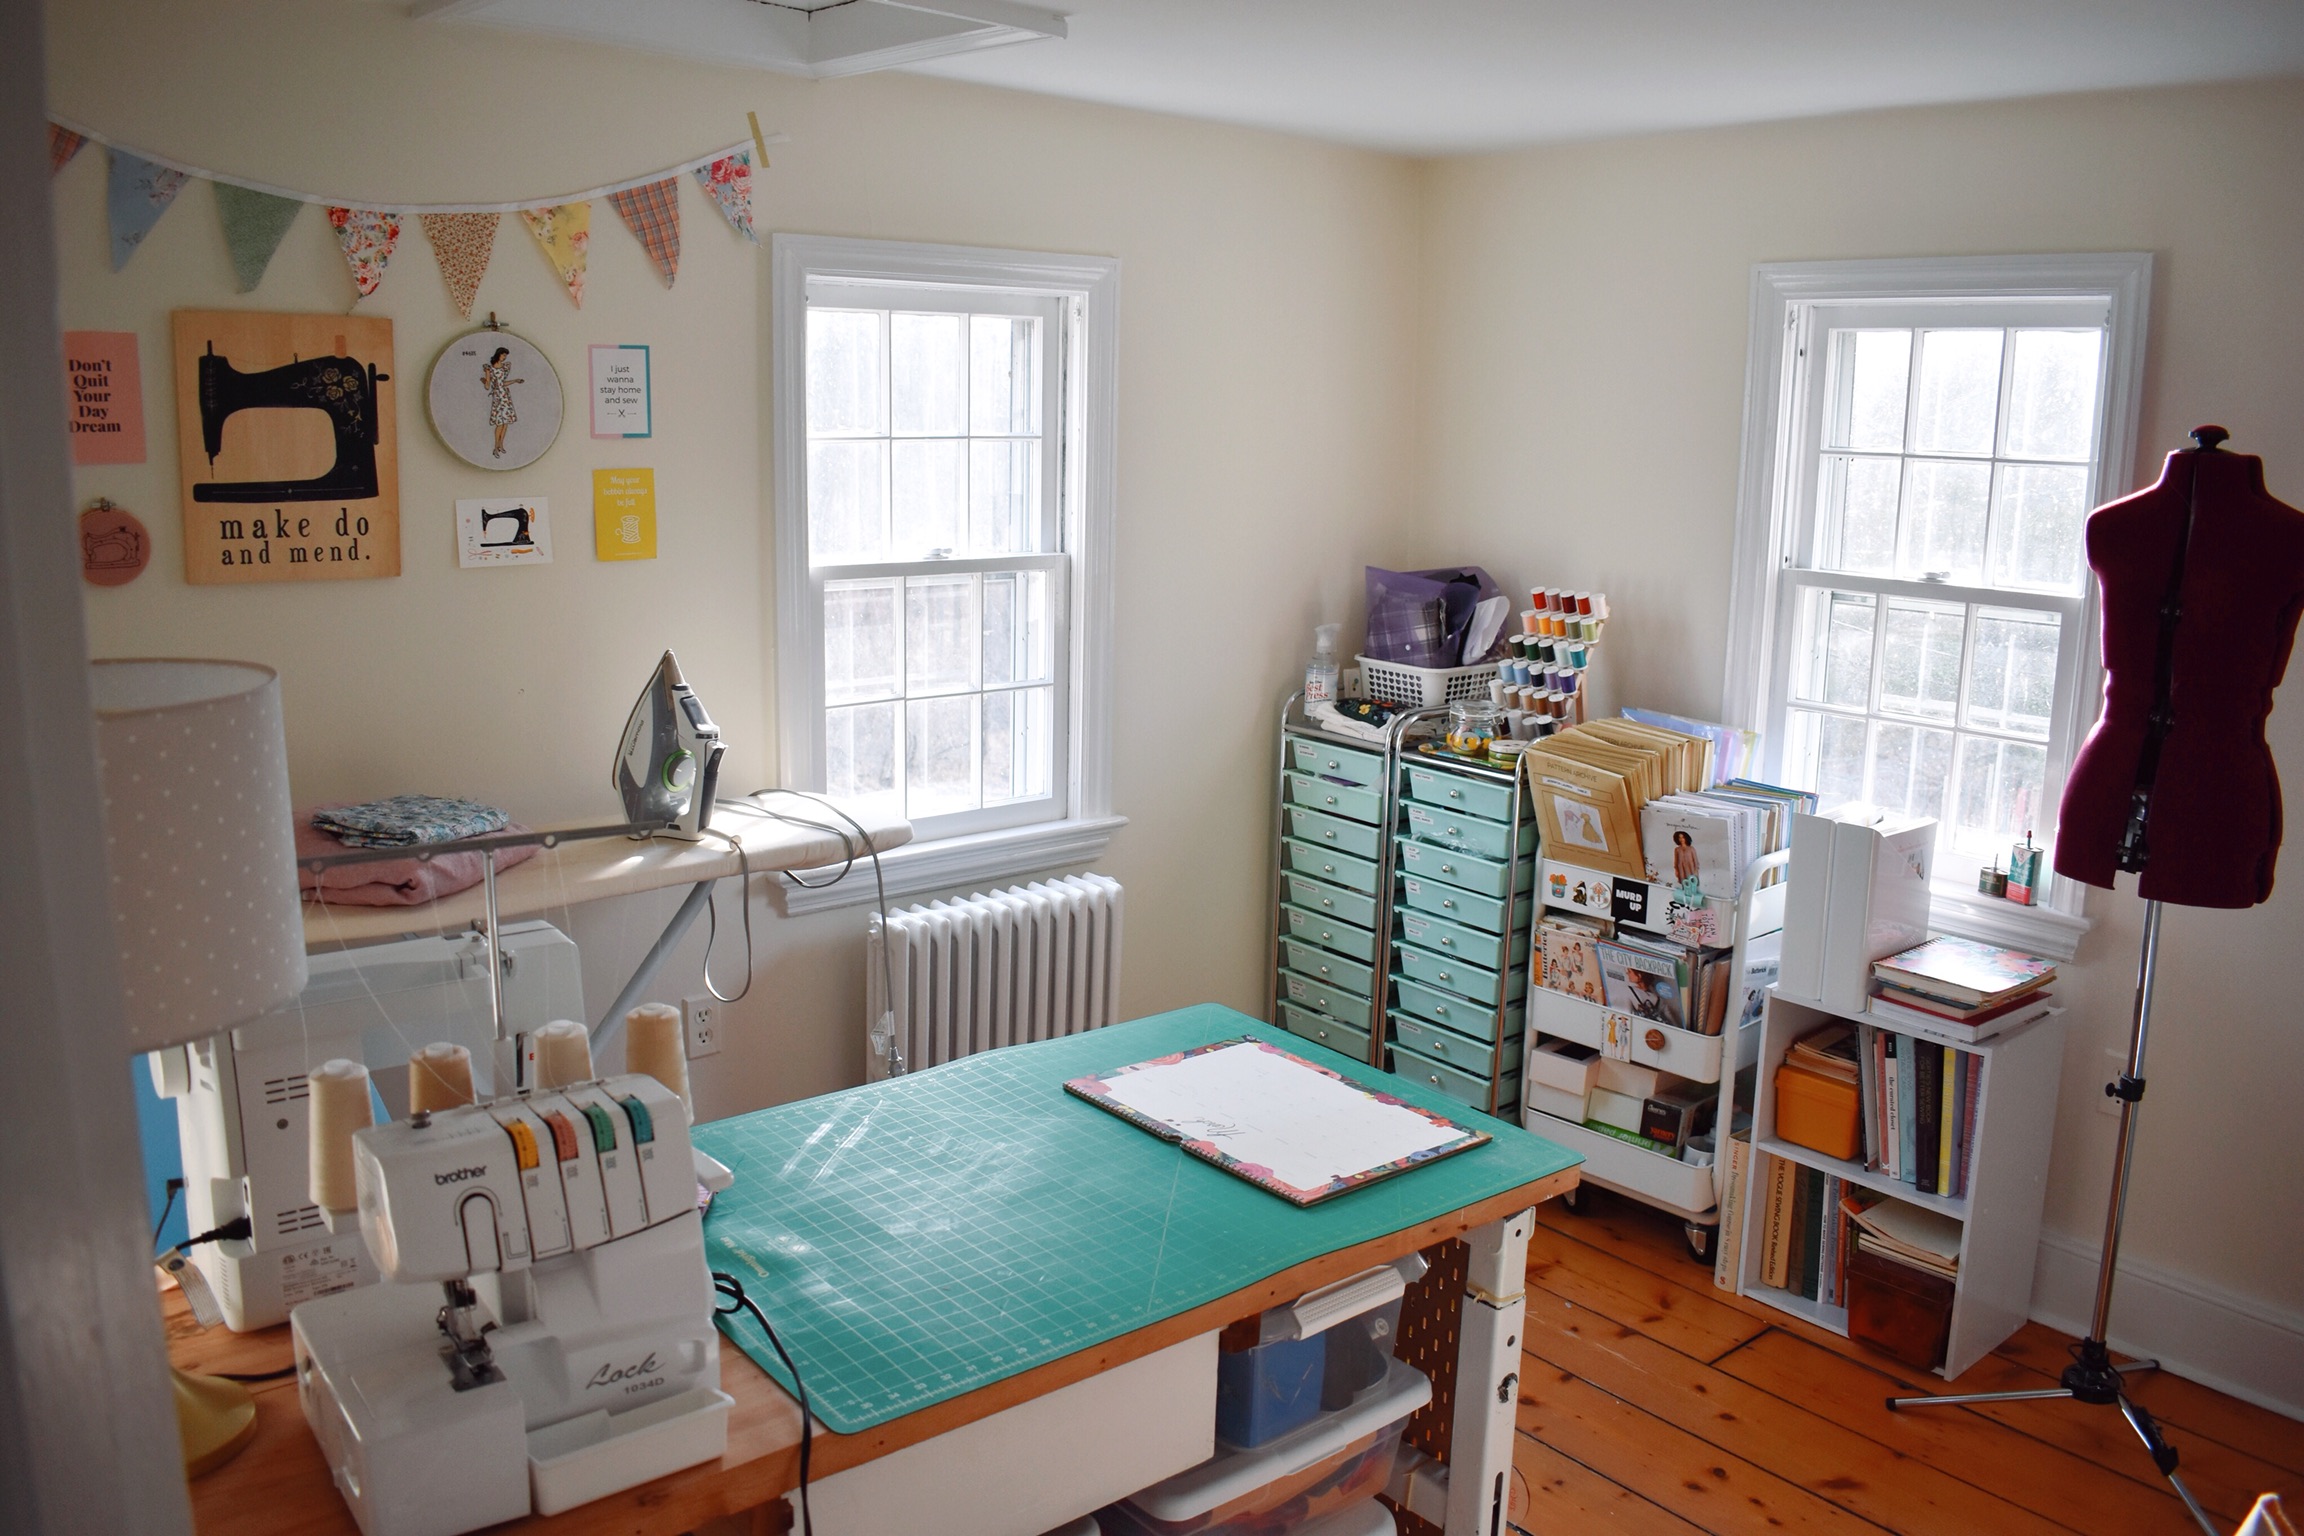
It was very important to me to be able to walk around my work table to make it easier to use for cutting. I had a bad habit of cutting out on the floor and I really wanted to stop that. I cut out a project the other day and it made such a difference.

A3B3AFE0-A2FC-4C39-904E-F36131CD5069

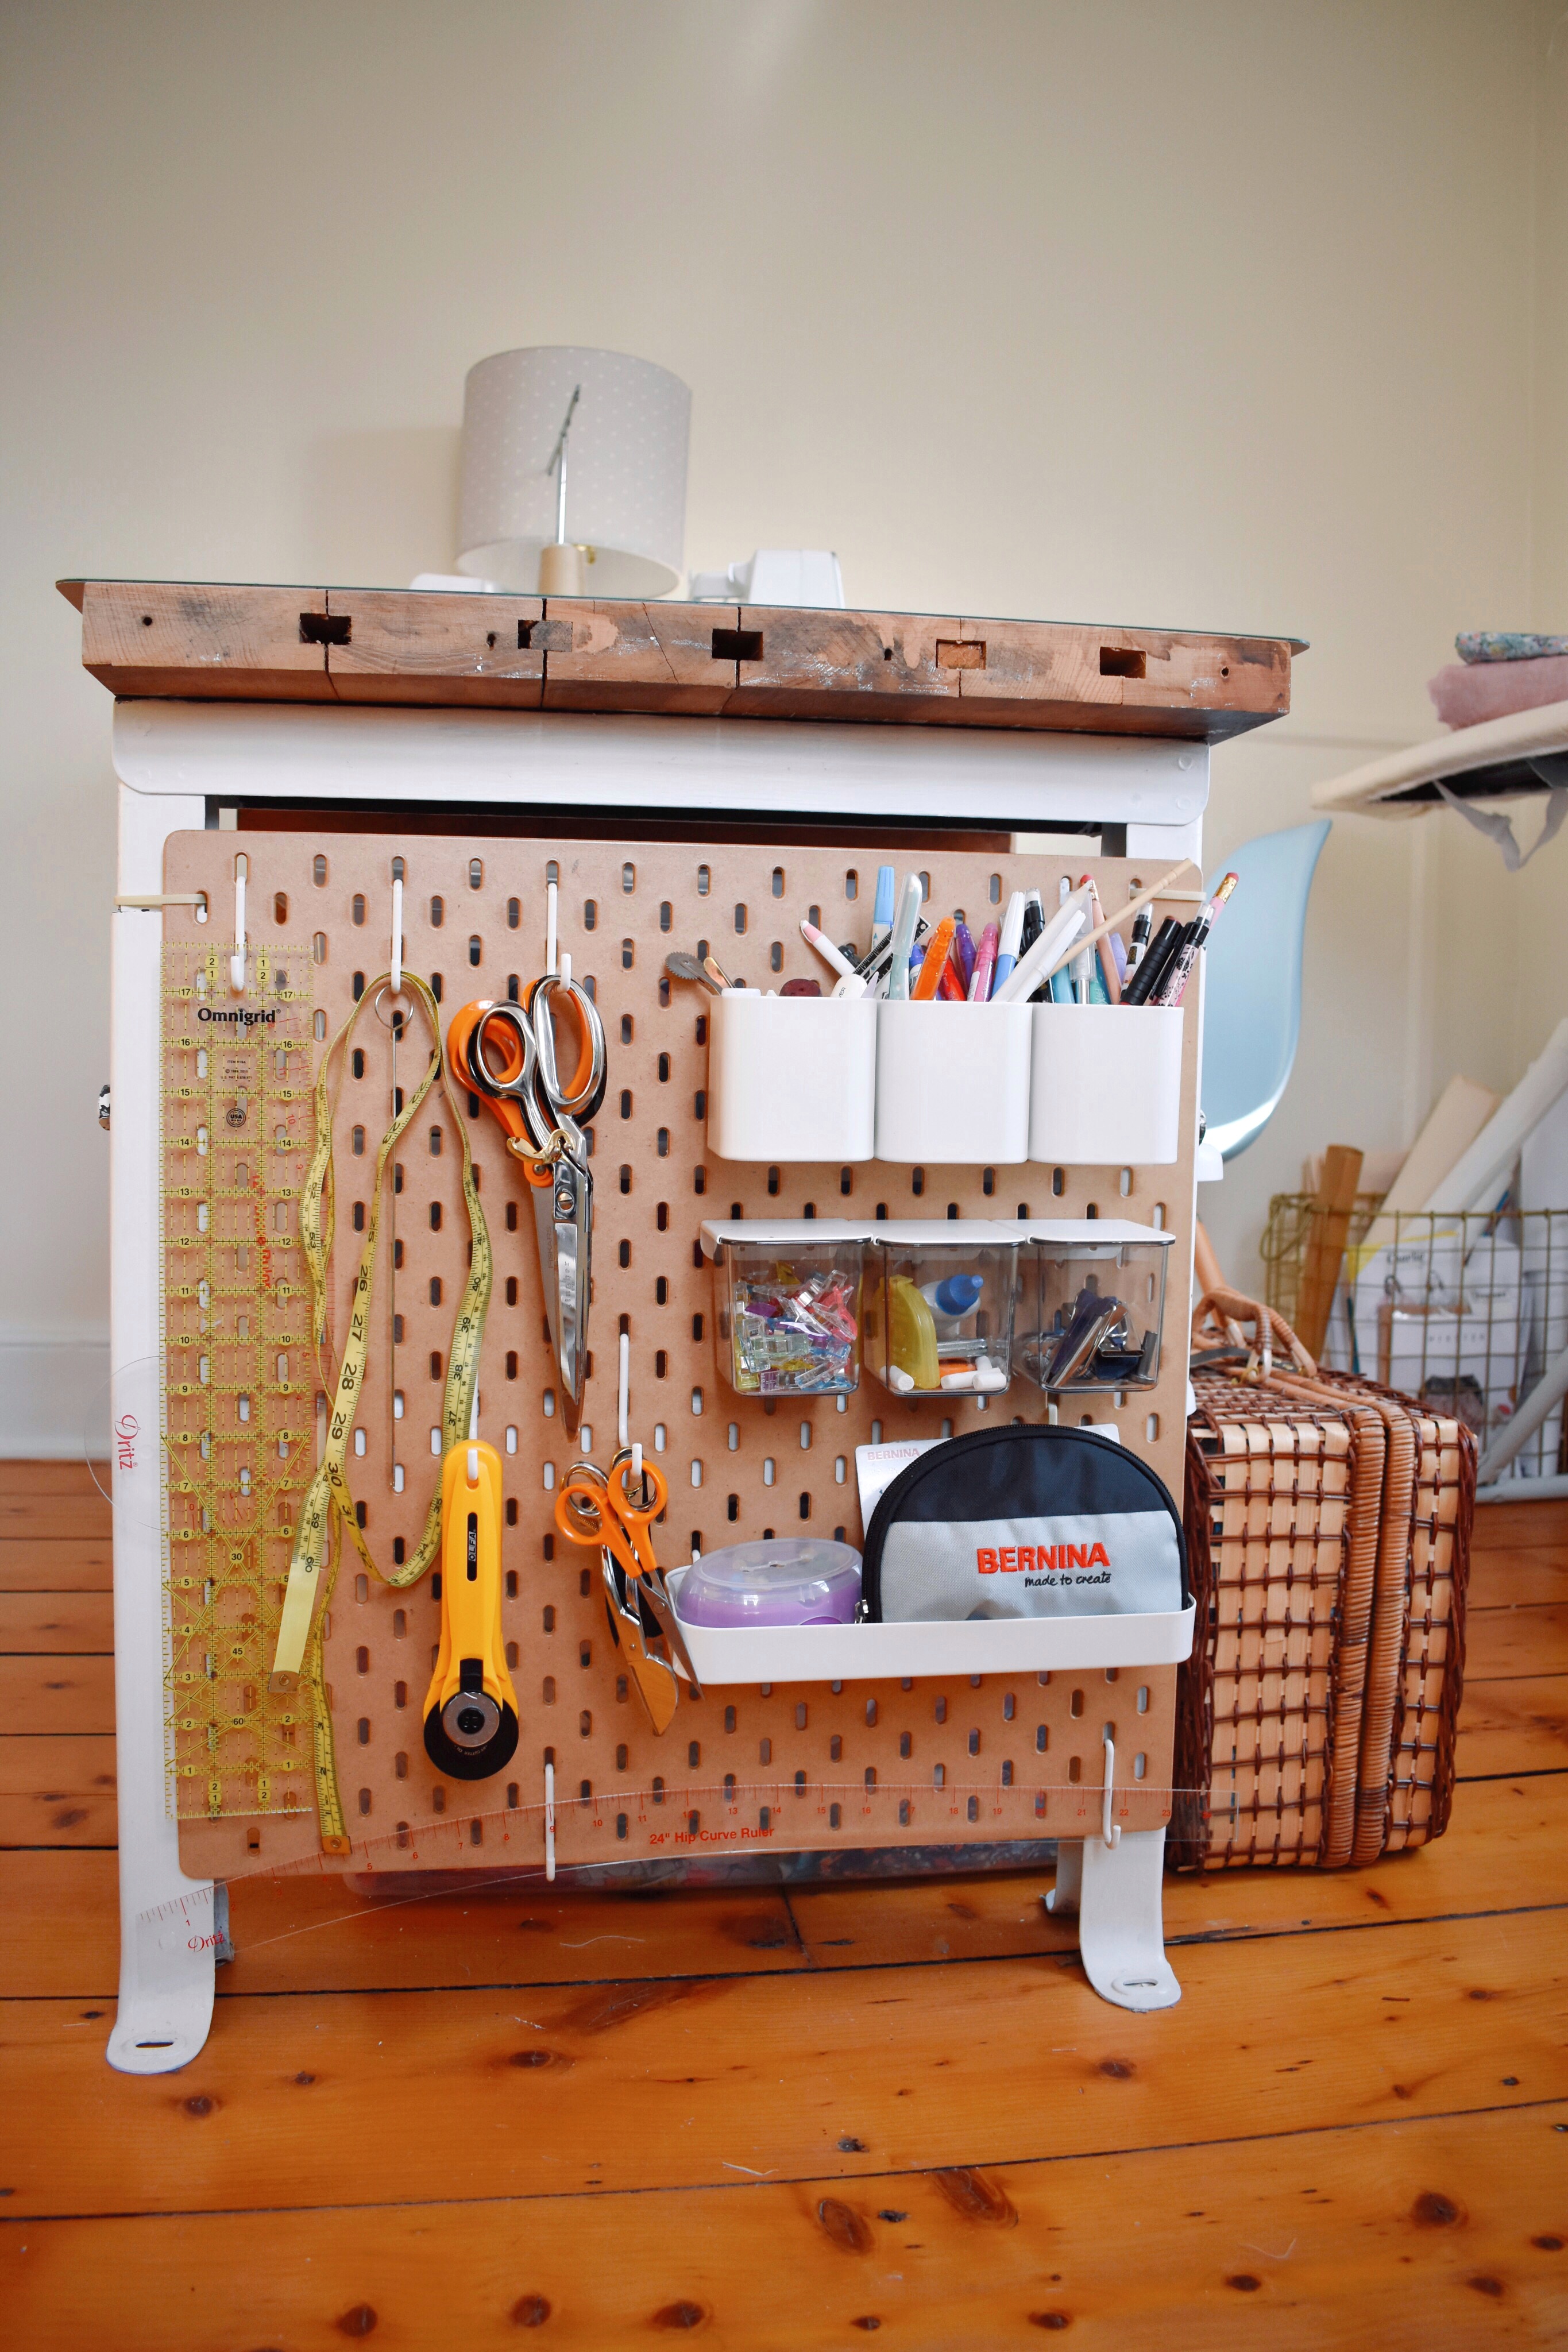
My favorite part of my new room is… my peg board! I’ve always been jealous of other sewists with their pegboards. They looked so organized and useful. Being a renter though, I was always nervous of hanging anything too big on the walls (and our old place it was nearly impossible with the type of walls we had). I had the idea of zip tying one to the open side of my table and it worked perfectly! I bought a peg board from ikea and it was the perfect size. It’s been so useful already and keeps my table more clear of clutter.

C2AAD8DA-4DC8-4800-A1F1-C174751679CF

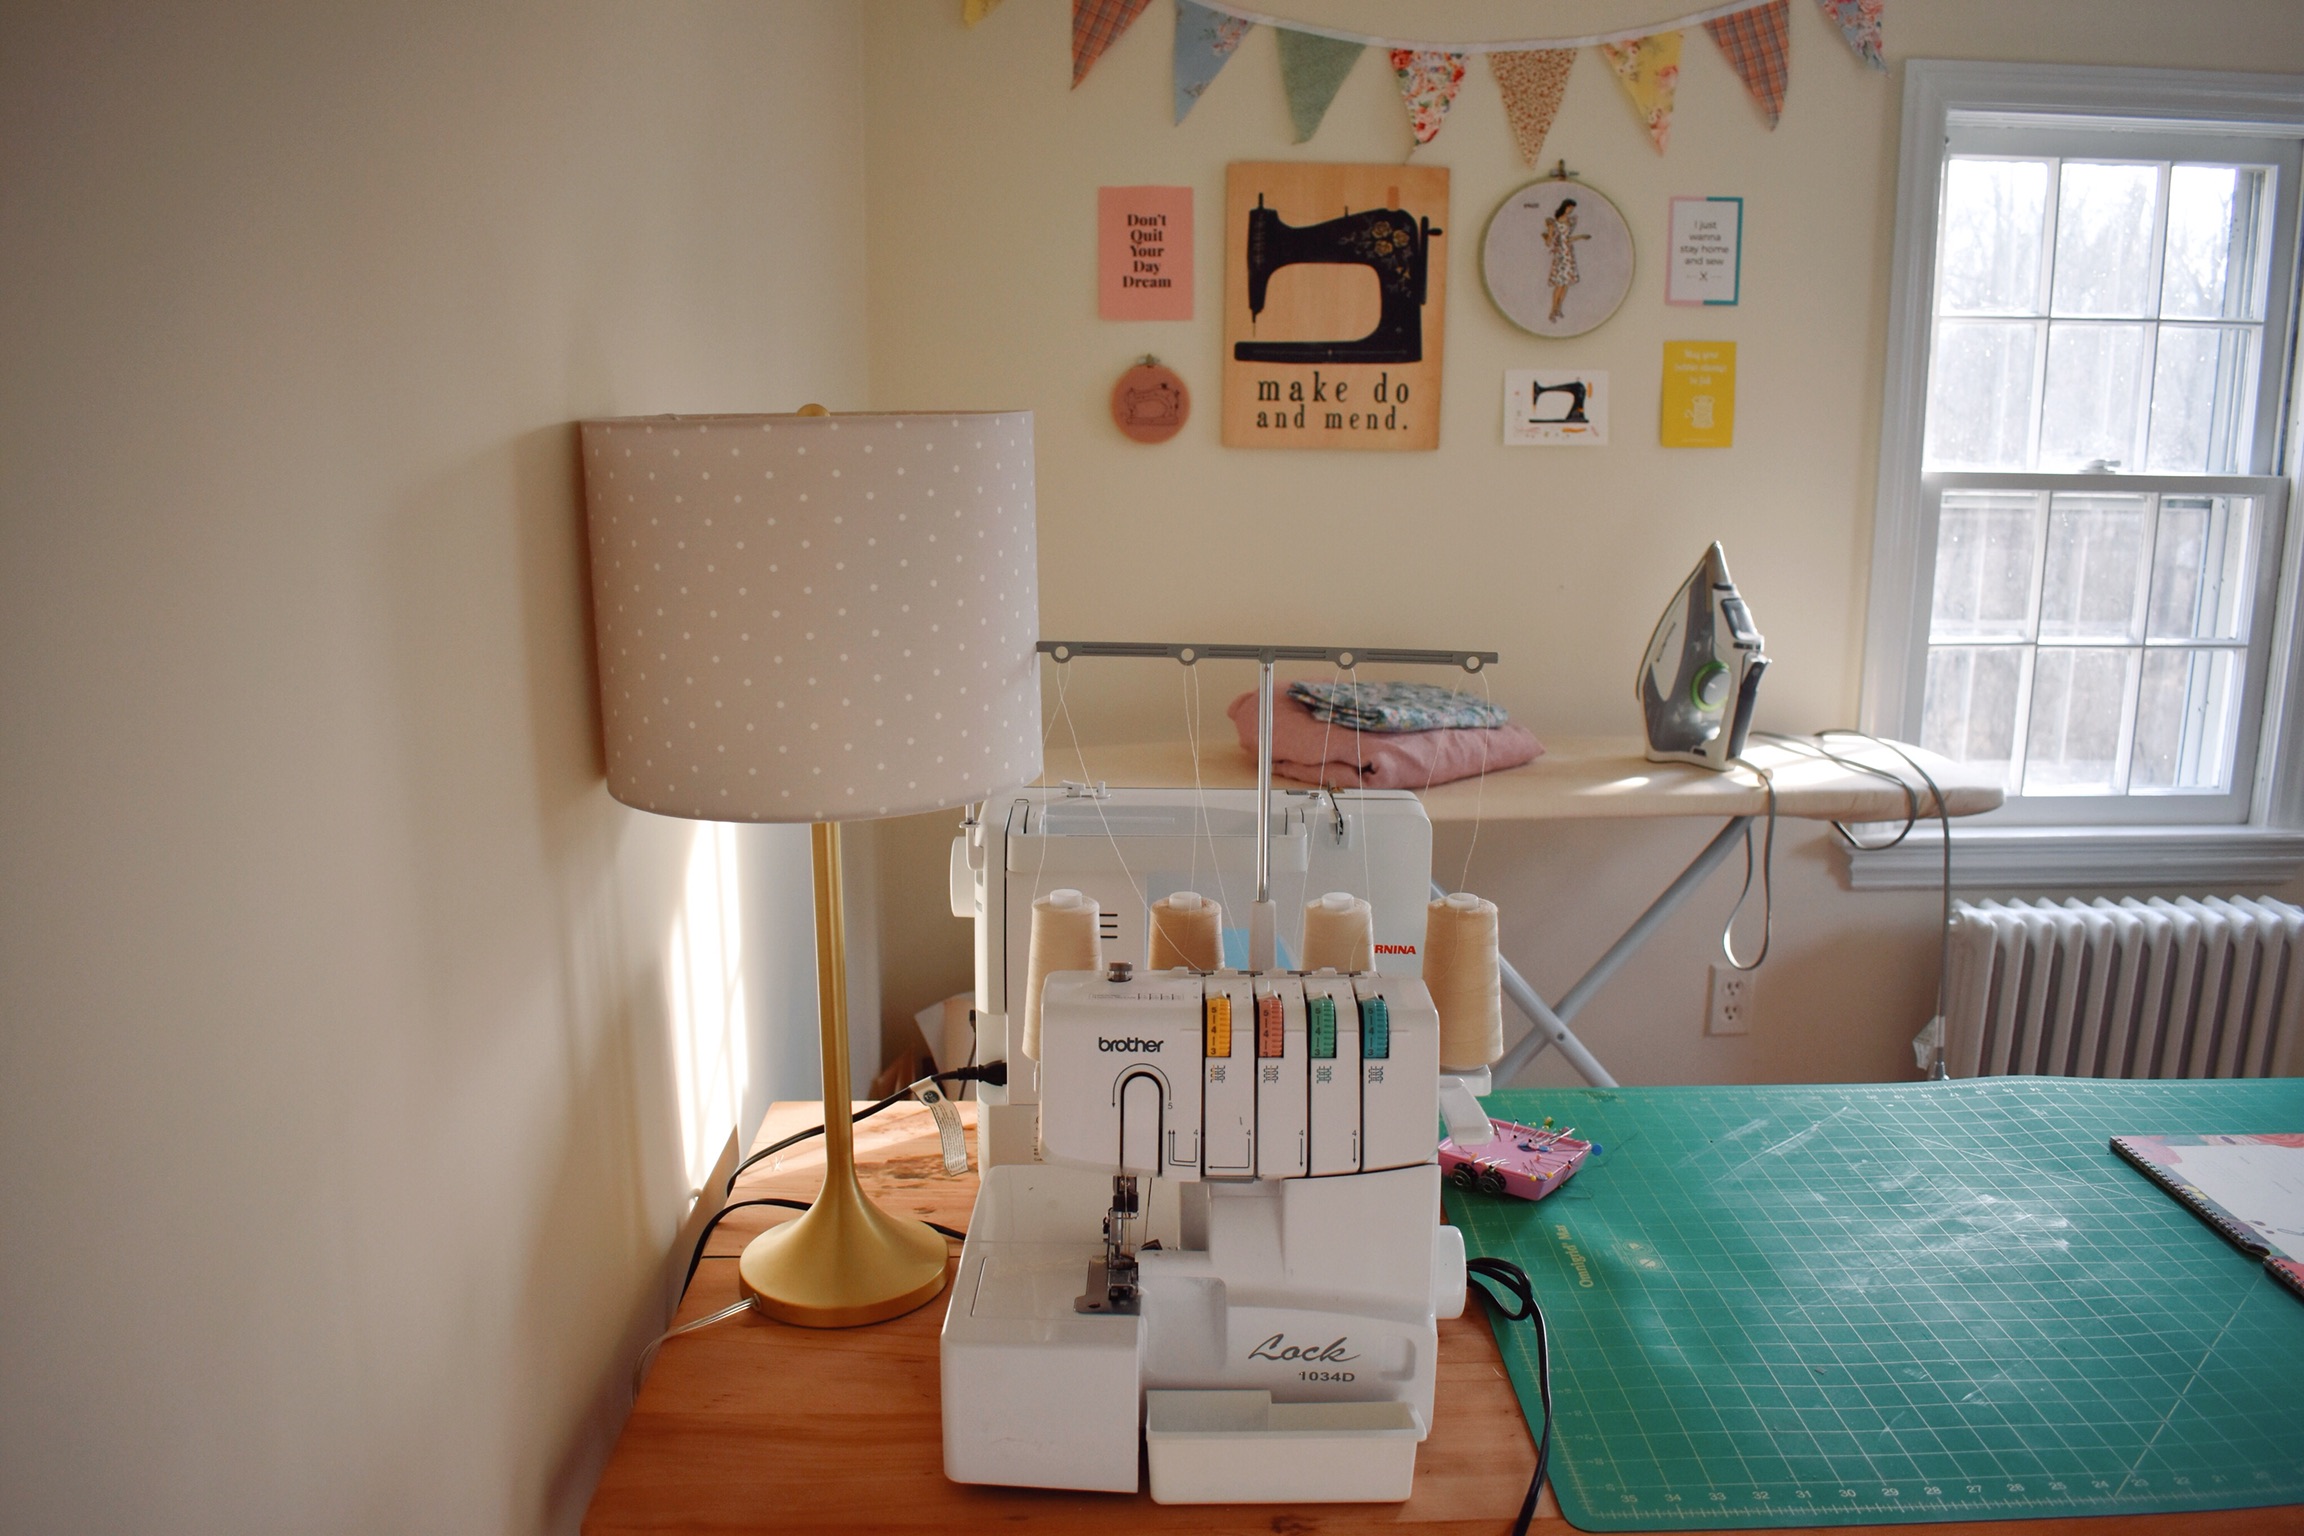
I set up my machines on the end of my table next to the wall. I intended to get another chair for the other side with my serger but so far I’ve had no problem just standing and using it. I can always move my chair if needed. I also bought this lovely Kate Spade lamp from Home Goods. I just love it! I may consider adding a floor lamp at some point.

I still have my fabric stored underneath my table in clear containers. I also have a basket in the corner where I store my rolls of pattern paper as well as patterns for the classes I teach.

43CA9C30-C2E5-49ED-8C49-21293C1AD923

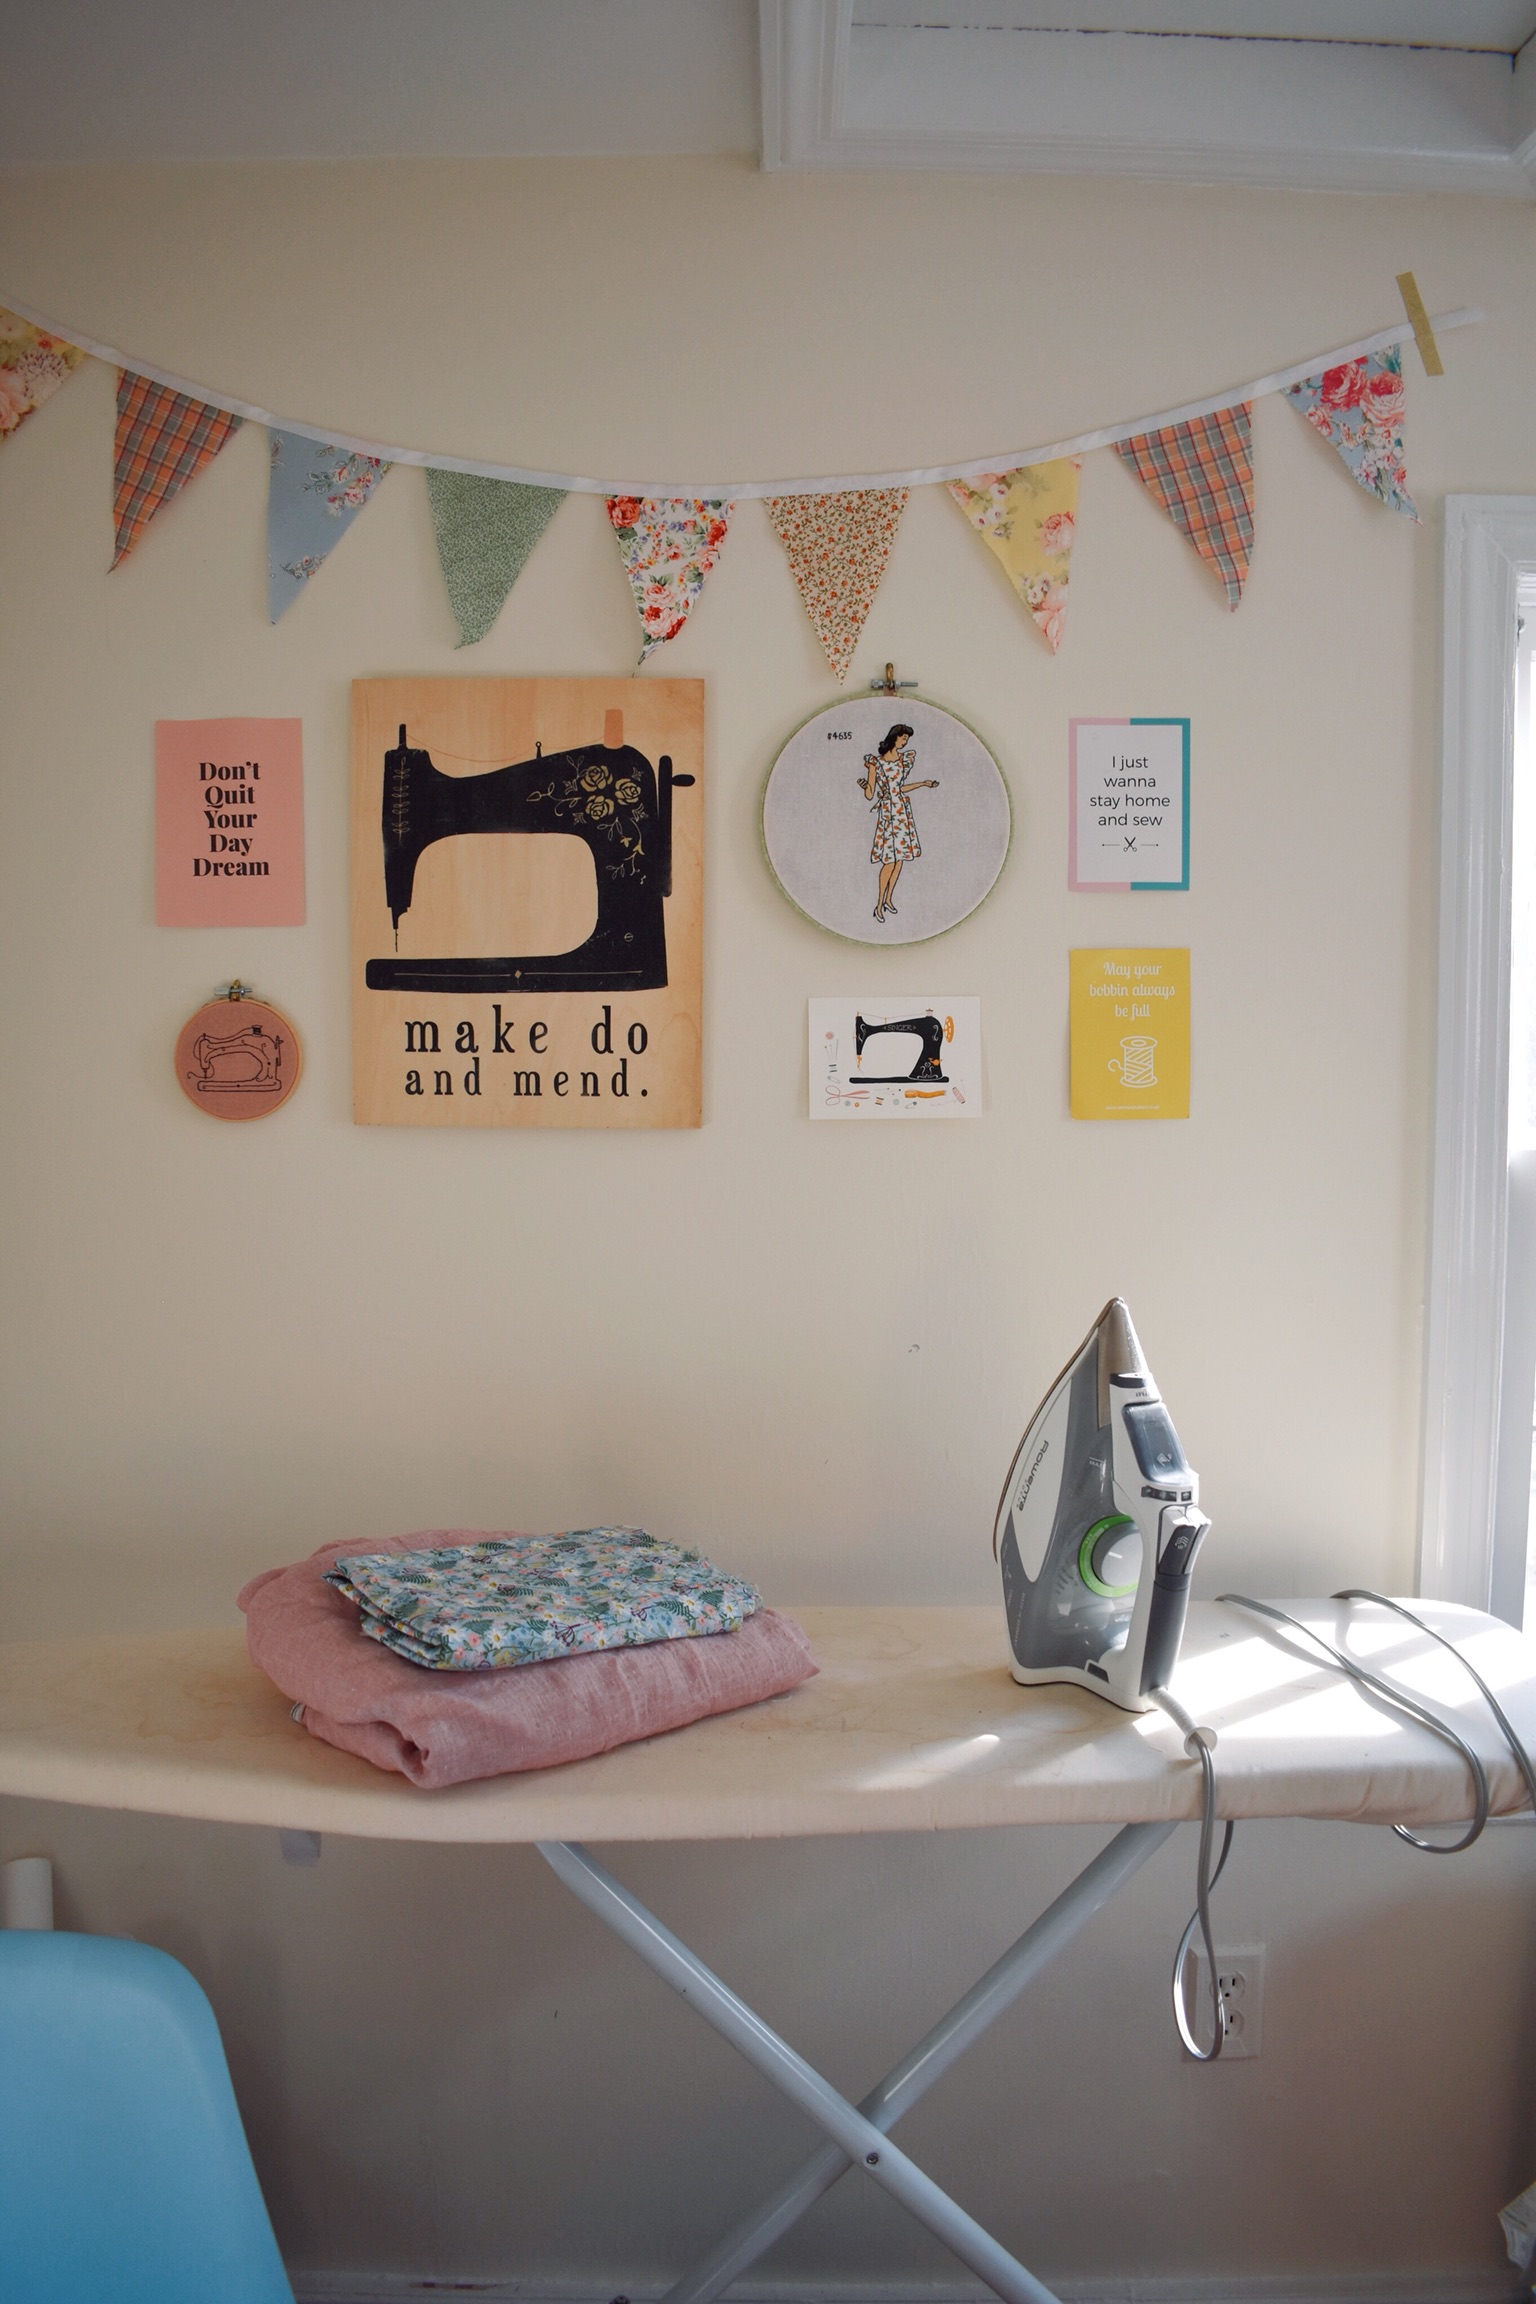
I have my ironing board right by my sewing machine so it’s super convenient for pressing between seams. I didn’t want as big of a gallery wall as I had in our old place but I still hung up some special pieces above it.

AC38C705-AB16-48A1-951A-1F5C1896AD494AA0031B-6F91-433A-A4EE-1B9D1BA0C29C

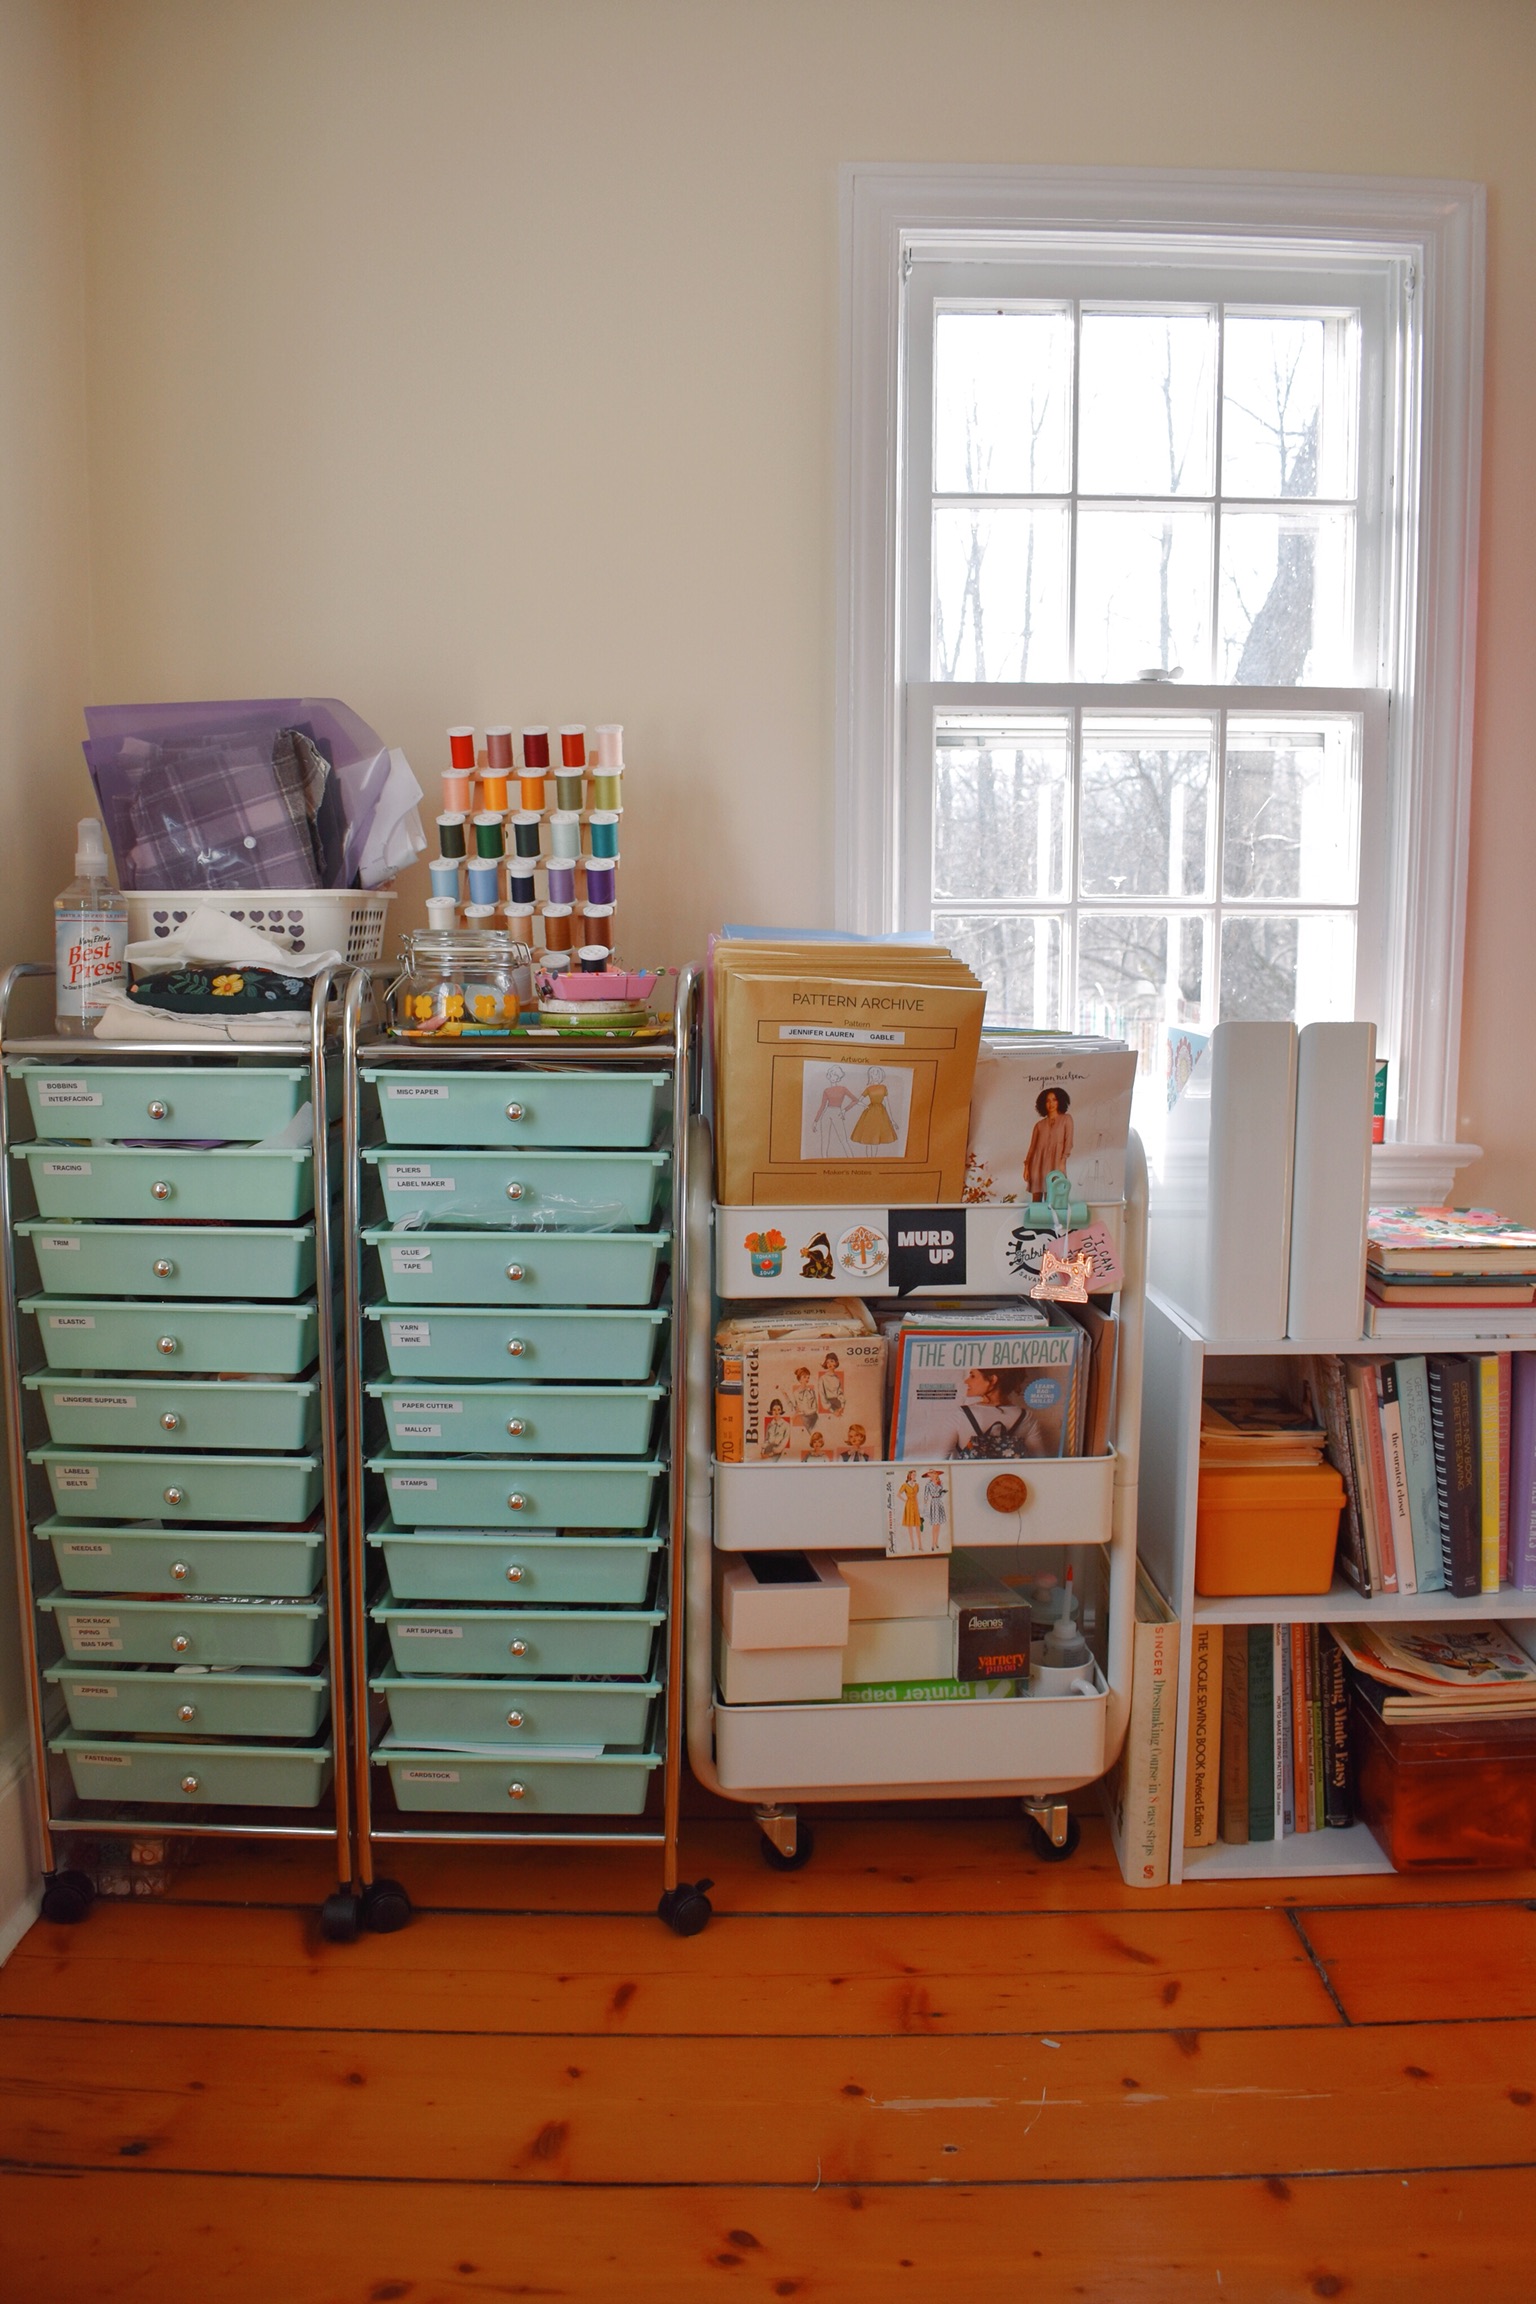
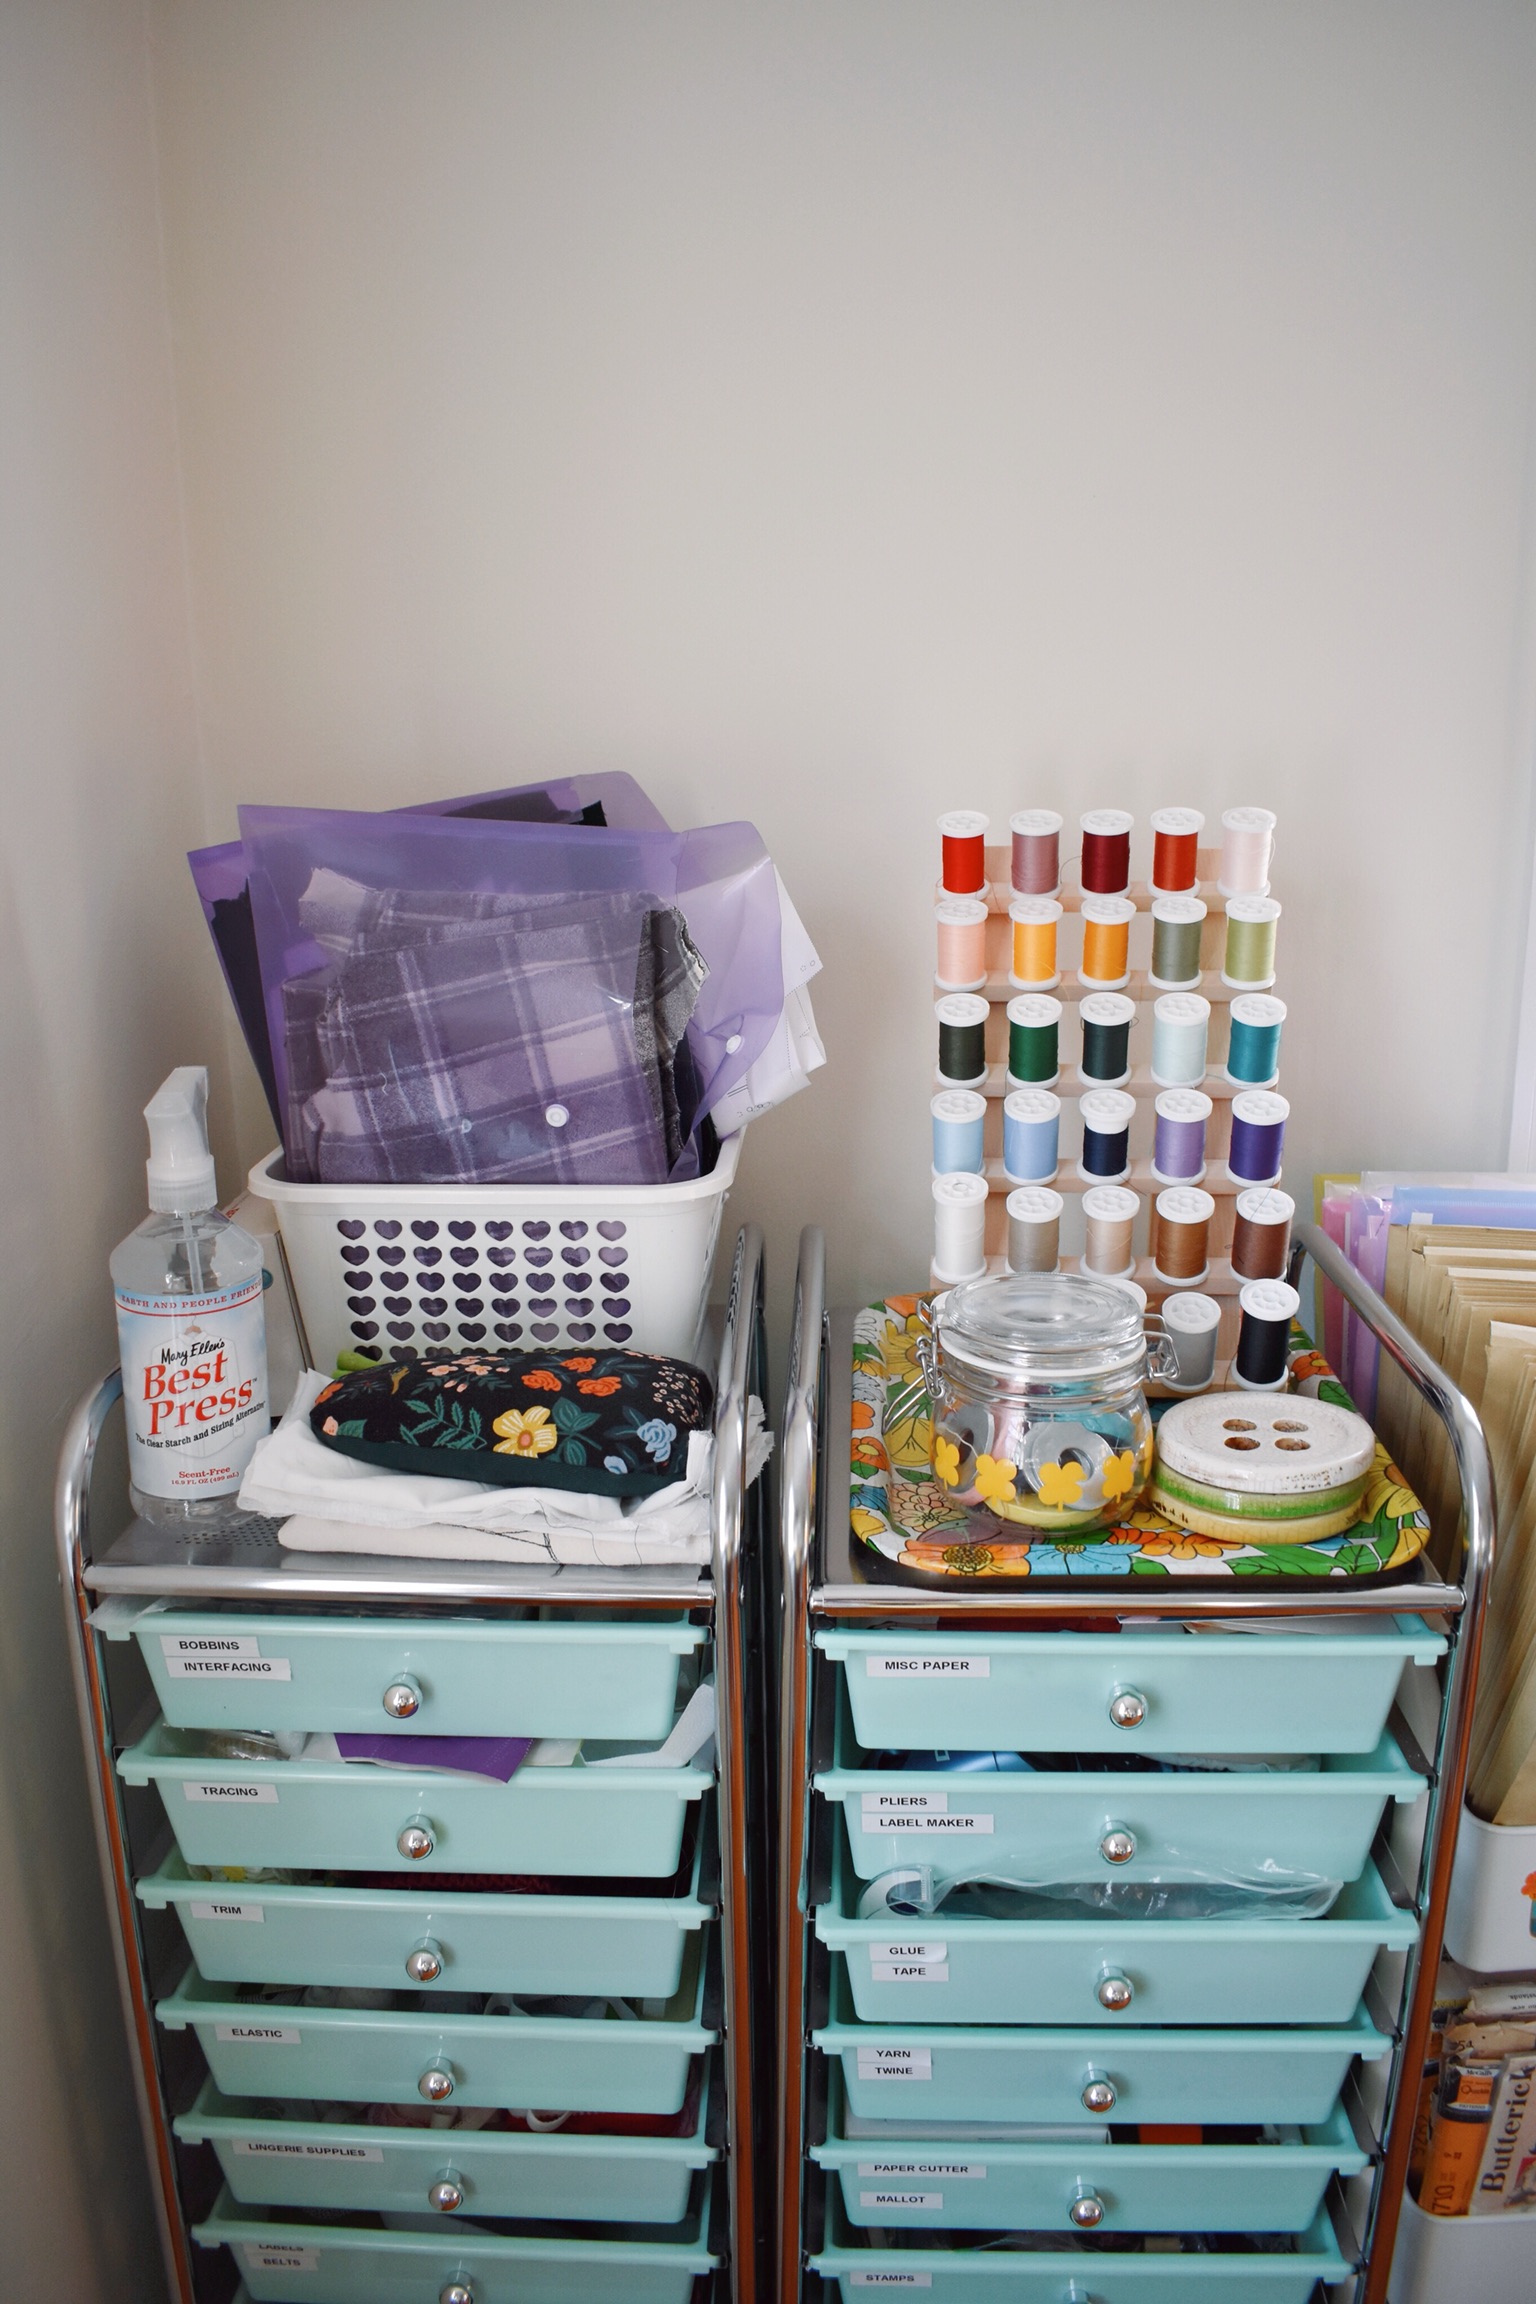
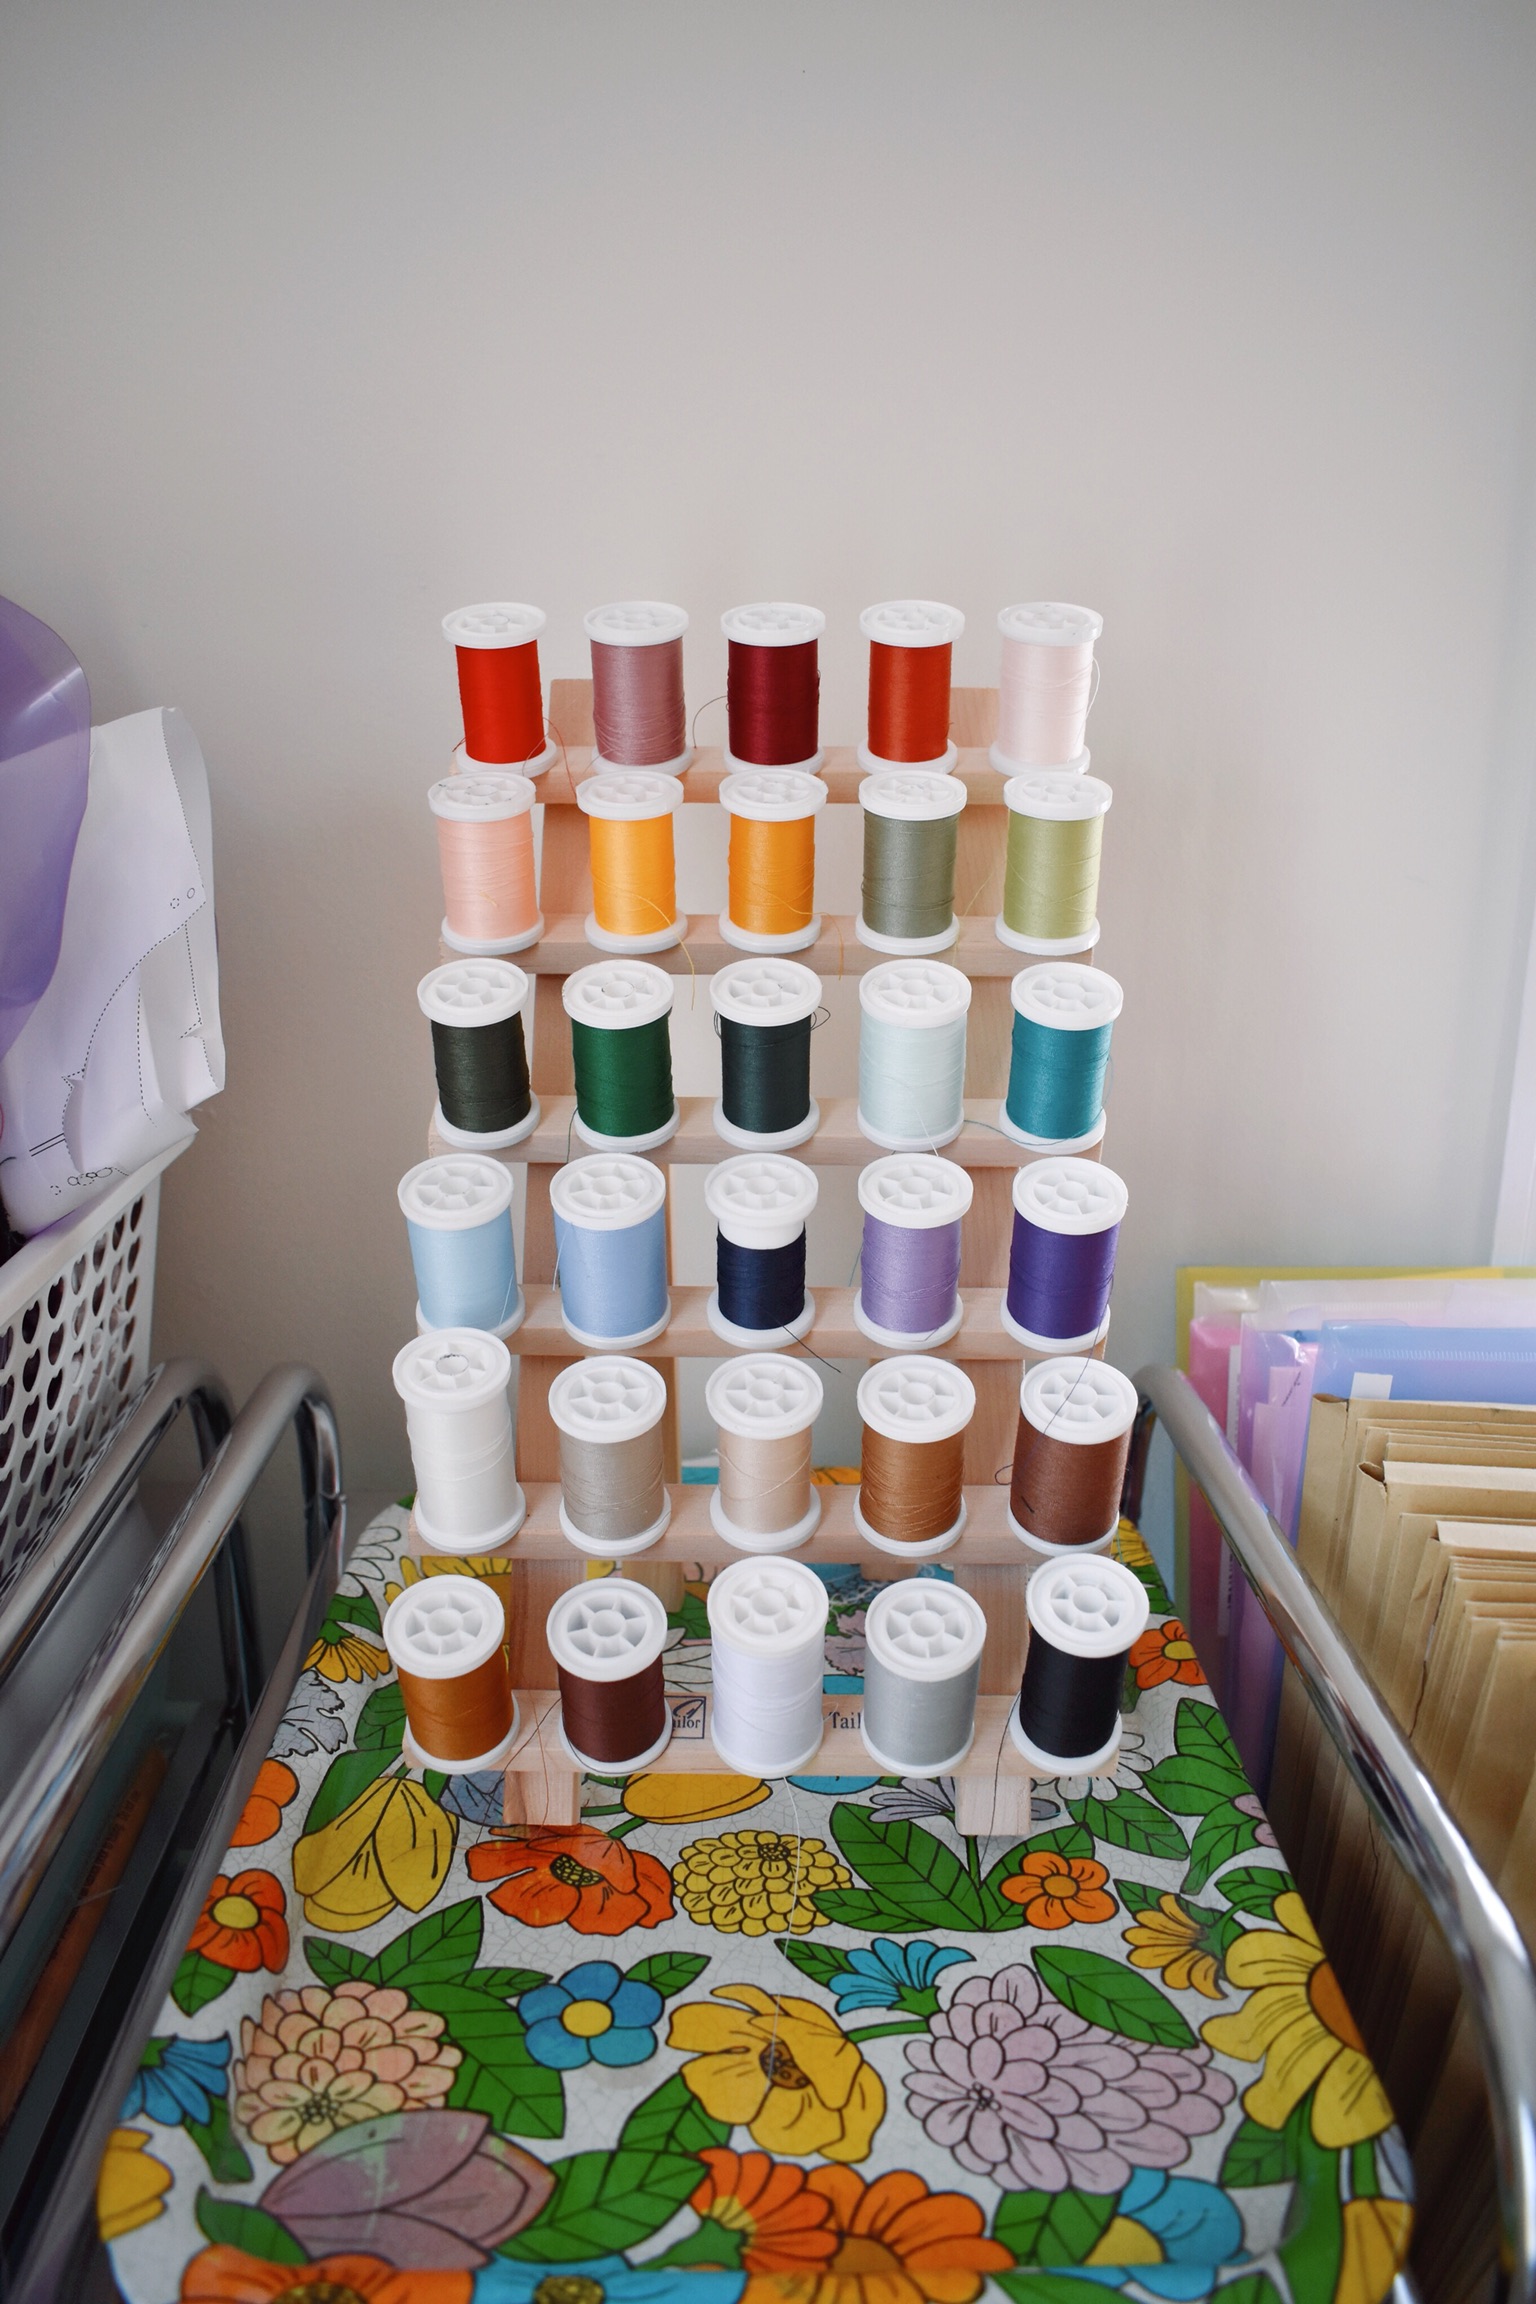
The other wall has all of my carts. One for sewing notions, one for various crafting items and one for my patterns. I also bought this small bookshelf on amazon to store all of my sewing books. We didn’t have room in our living room and it really didn’t make sense for them to be downstairs anyway. On top of the carts, I have a bin for cut out projects and things for ironing. I bought this little spool holder from Joann’s. I am keeping my serger thread and extra thread colors in a container under my table. I also have my dress form over there. I used to have two but it seemed unnecessary and too cluttered so I just kept my petite form which is closest to my measurements.

C8CA2708-C3E8-48EC-948D-32BF30B1B00A

And that’s it! I love this space. It feels so bright and inspiring. I also feel that the way I have everything set up makes a lot of sense. I may find a rug at some point but besides that I think it’s perfect! I feel so lucky and I can’t wait to create garments in this room.

Thanks for reading.